

Rudolphs Noses
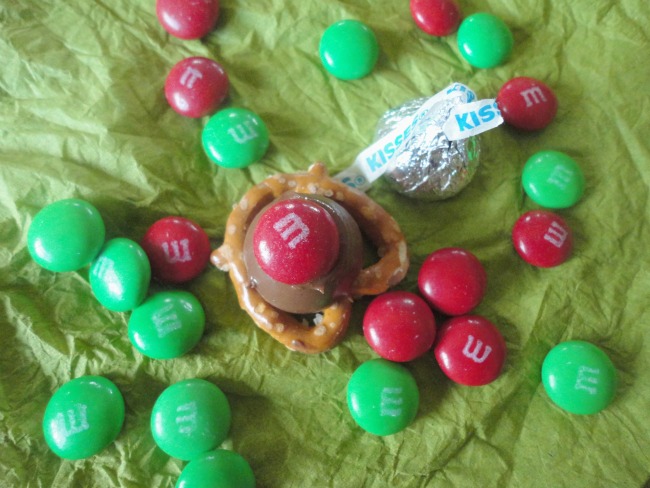 Rudolphs Noses are my kiddos all time favorite Christmas Treats to make and to eat! They are so easy kids of all ages can make them. If your kiddos can unwrap a Hershey Kiss they can make Rudolphs Noses.
Here’s what you will need:
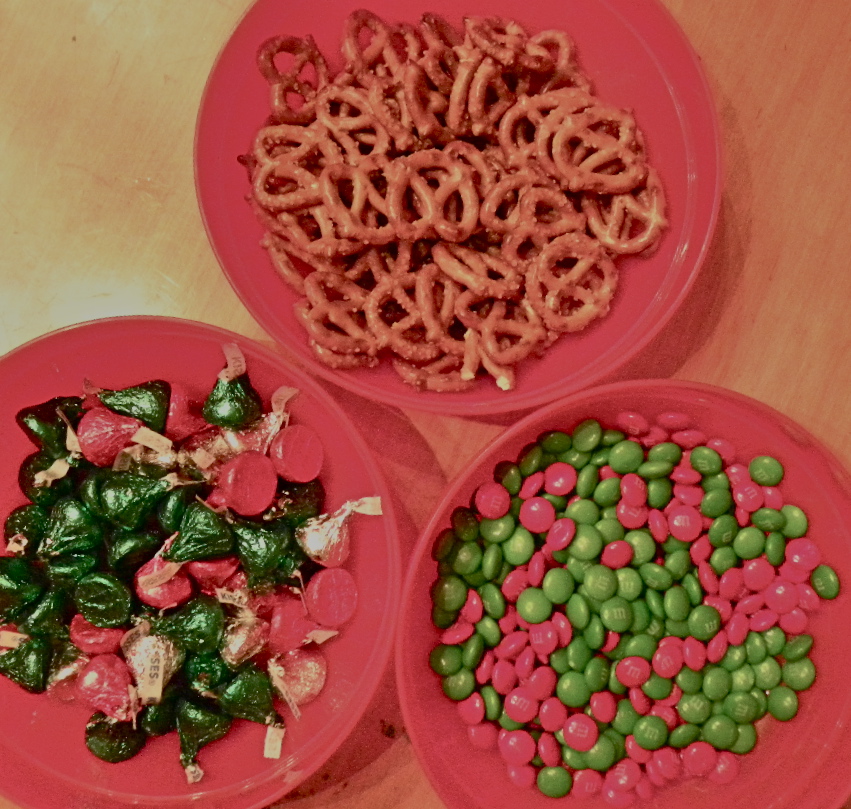 Hersheys Kisses, Christmas M&M’s, and Pretzel twists
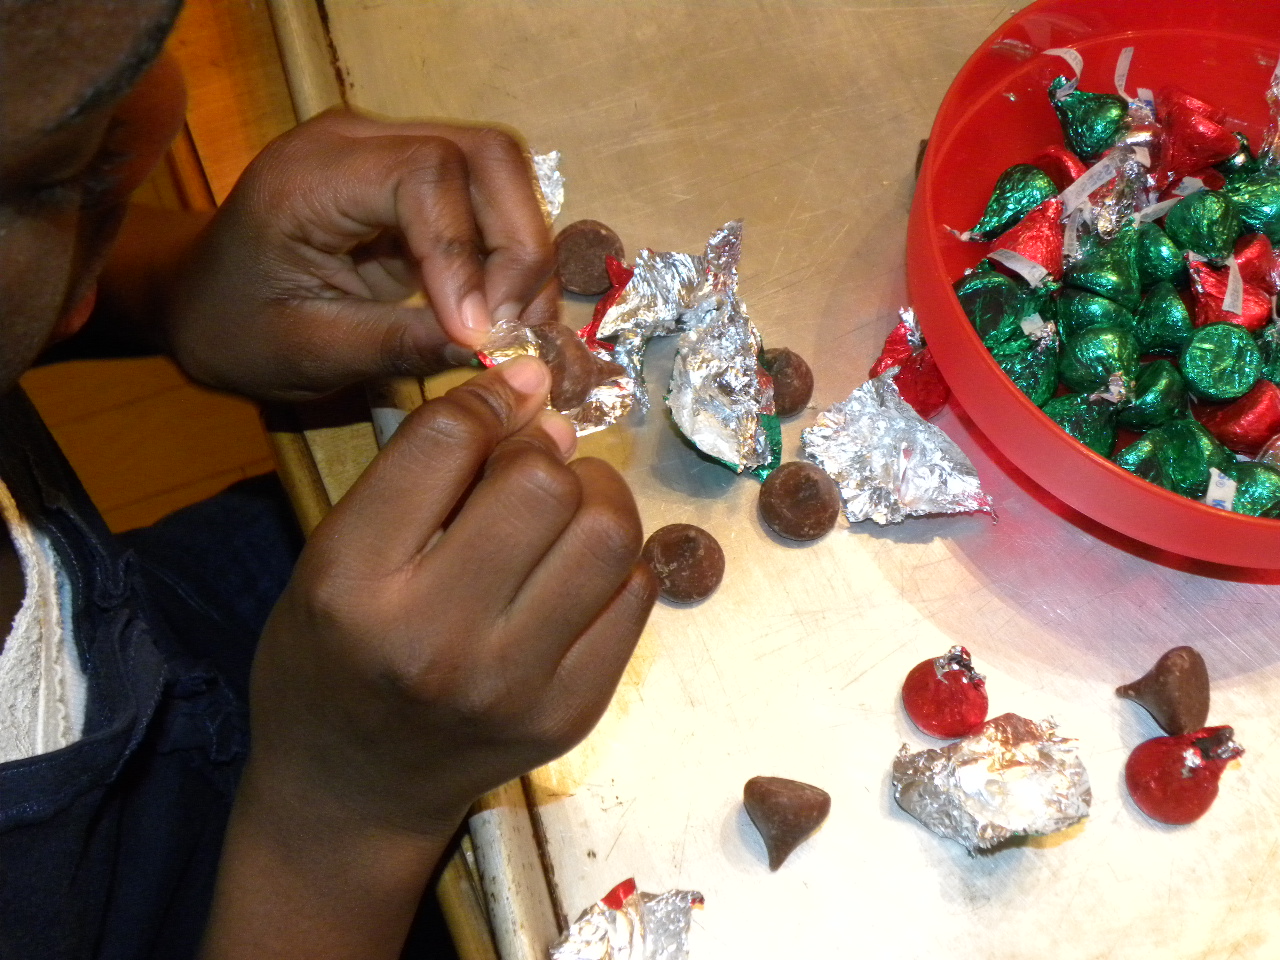 Unwrap Kisses without eating too many.
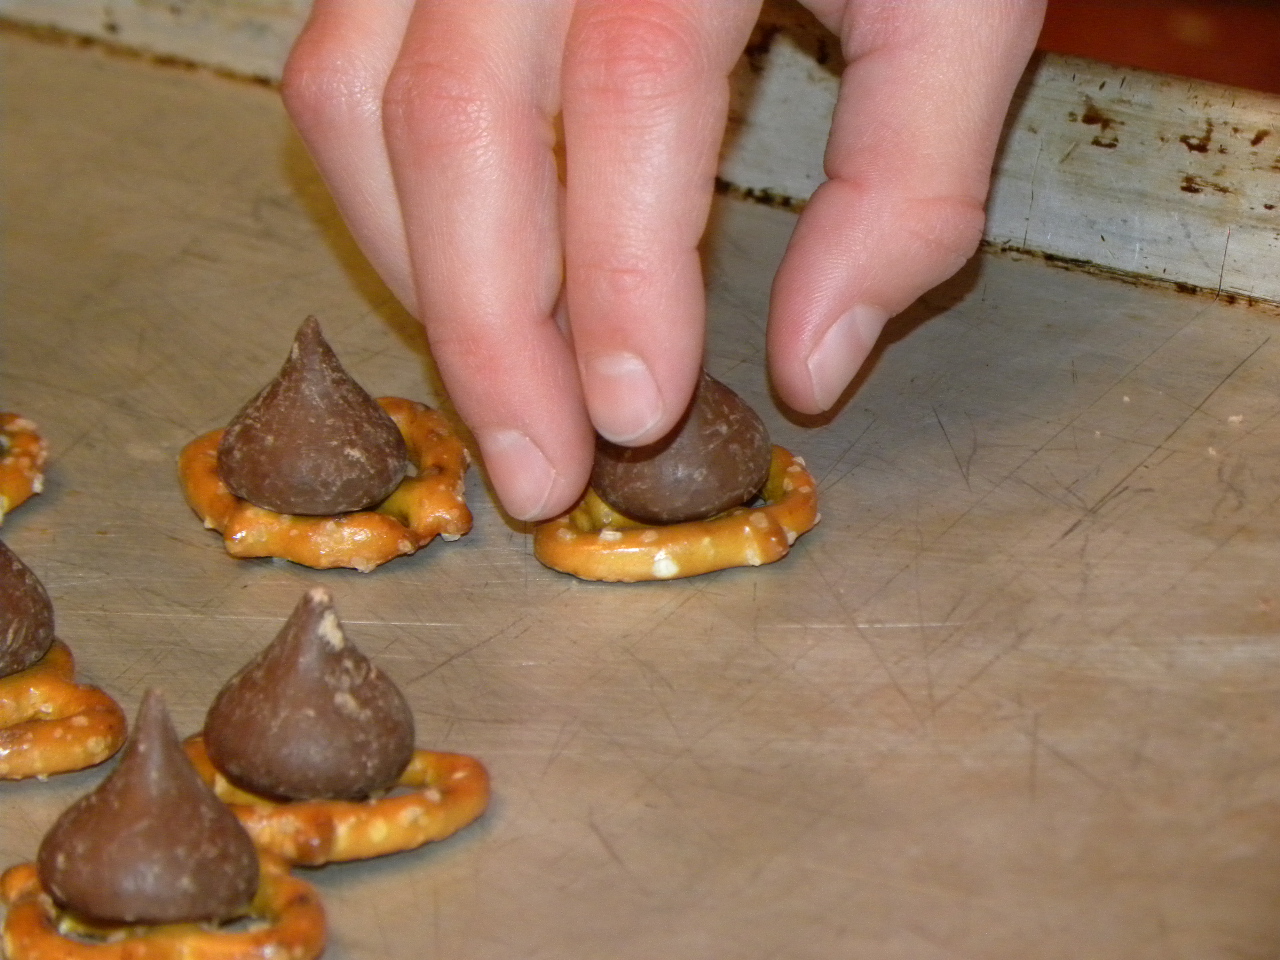 Place one Kiss on each pretzel, like so. Then pop your baking sheet in a 250 degree oven for 3-5 minutes. You want the Kiss to be melted but still hold is shape.
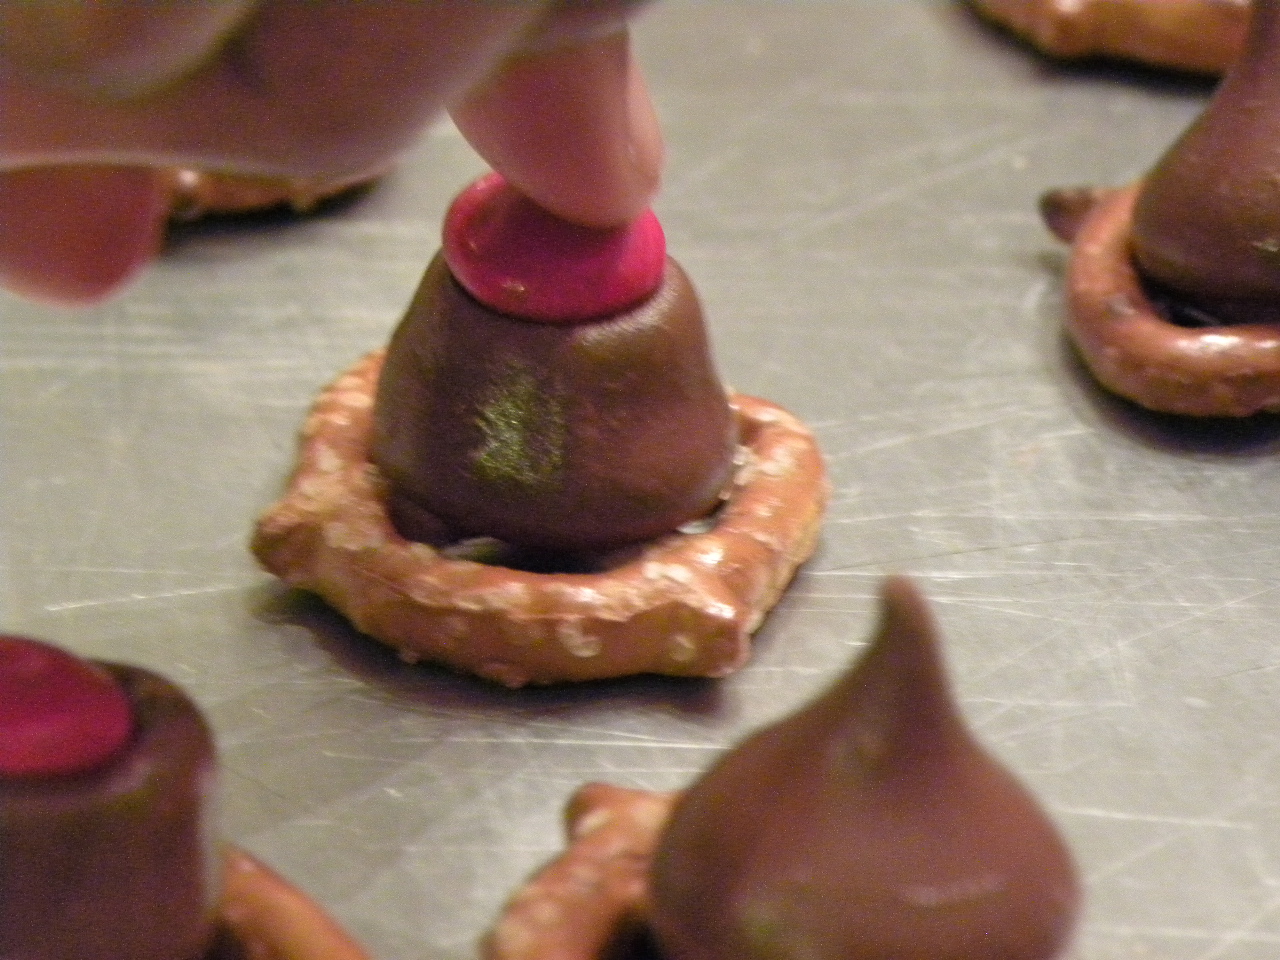
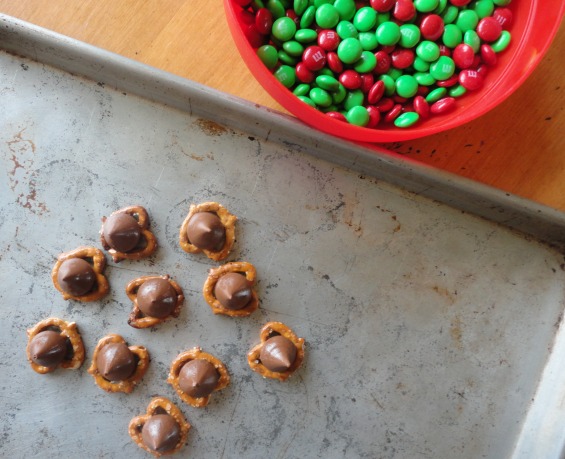 See how the Kisses are glossy? The are perfectly softened all ready for you to push a M&M on the top. Like so…..
 WARNING: you must refrain from tossing these down your pie hole one after the other. They are so gol darn scrumptious when they are warm.
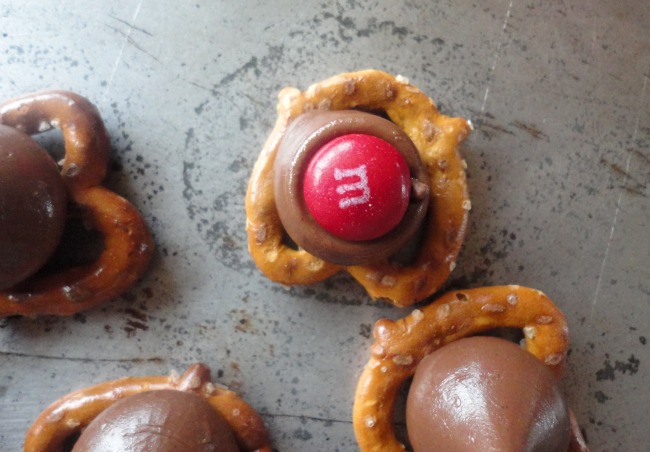 “Ruldolph the red nosed pretzel, had a very shiny nose
And if you ever ate one, you tingle down to your toes…” I hope you don’t mind I felt inspired.
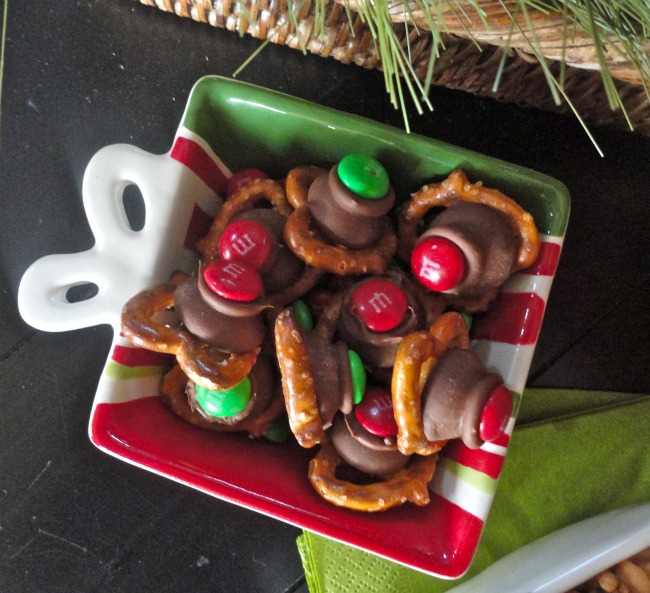 That’s it! That’s all there is to it. Rudolphs Noses are the perfect sweet and salty bite!
Have a Holly Jolly Christmas!
Sheila

I made them last night with my daughter as treats for all of her teachers – 15 bags and counting! And then made them again with the sweetie 3 year old that I babysit and we took them to the librarians – joy! Neighbors are next!
xoxo michele
How fun! So simple, so yummy! So glad you shared ; D hugs, Sheila
It is our family tradition to make these together every year.
One of my kids did burn a finger one year, though. 🙁
Yum! We made these last night with “Snaps” (the square pretzels). I baked them on a silpat placed on a baking sheet. When the chocolate was melted, I picked up the silpat and put it on a cooling rack so the kids could put the m&m’s on. No burnt forearms!
I can do this and share with our neighbors! They really are the cutest.
xoxo michele
Love this….will have to make it with my kiddos. Thanks for the inspiration!!