
Easy Homemade Blender Ice Cream (No Machine Needed)
If there’s one thing I love more than a bowl of homemade ice cream, it’s a recipe that gets the whole family in the kitchen — no special equipment required. This blender ice cream has become our go-to this summer. No ice cream maker, no churning, no fuss — just a few simple ingredients and a few minutes in the blender, and you’ve got creamy, scoopable ice cream that tastes like you spent all day on it. I’m sharing my favorite version below — fresh strawberry — but think of this as your new base recipe. Once you’ve got the method down, you can swap in almost any flavor your family loves. It’s the kind of recipe that turns into a tradition, one bowl at a time.
Why I love this recipe
Although I own an ice cream maker — two, in fact — I don’t always have the patience for the process. The churning, the planning ahead… and let’s not forget that the cylinder has to freeze for at least 24 hours before you can even start. I am constantly forgetting to freeze it ahead of time, or I simply don’t have the freezer space for it (anyone else’s freezer always packed to the brim?).
So when I came across this no-machine, blender ice cream idea from America’s Test Kitchen on Instagram, I was all over it. No ice cream maker needed — just a blender! Because this recipe uses heavy cream with a high fat content, the ice cream turns out smooth and creamy, just like it came from a machine. Don’t let the corn syrup on the ingredient list scare you off, either — it actually helps give the ice cream that perfect scoopable consistency. I made a few small tweaks to fit our family’s taste, but the credit for the genius science behind this method goes to ATK.
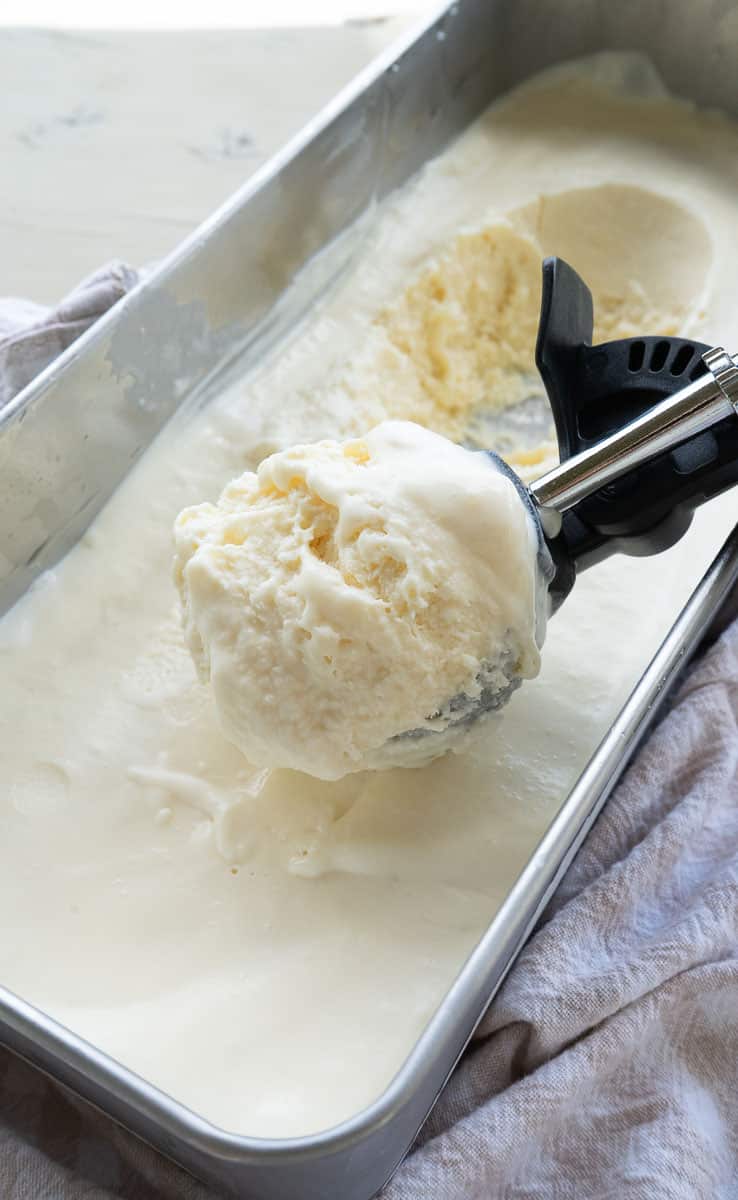
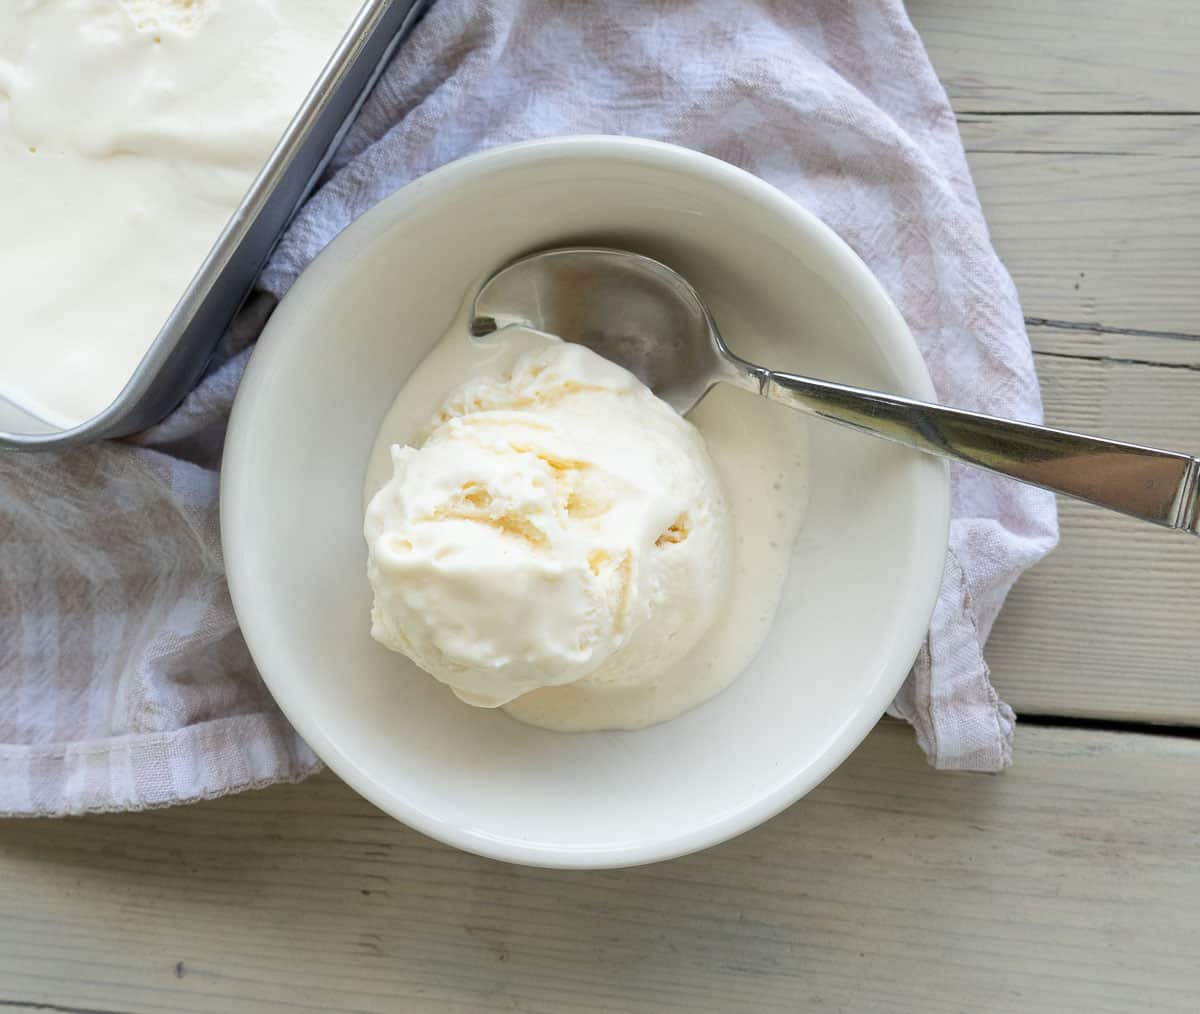
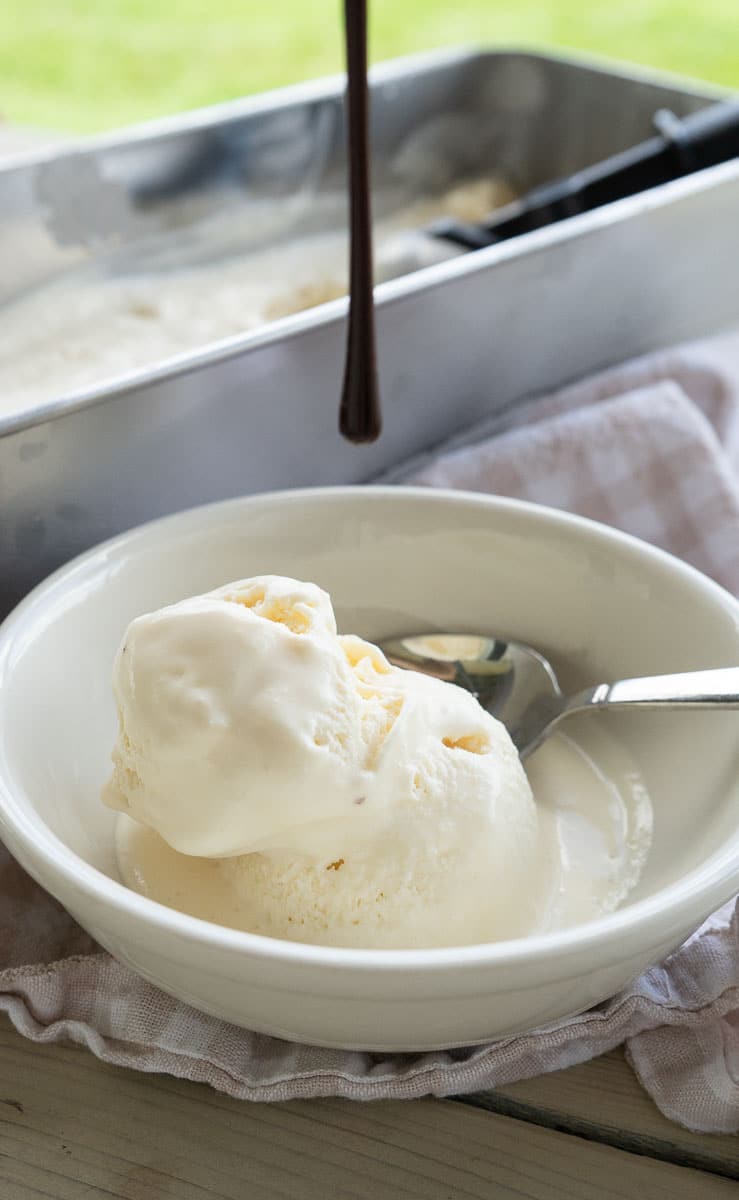
I almost feel guilty saying this, but I’m honestly not sure I’ll ever drag out my ice cream machines again. This blender method was that easy and that good. It tasted just like the best store-bought vanilla ice cream — minus all the mystery ingredients you can’t pronounce. So, let’s get blending (does that count as churning)?
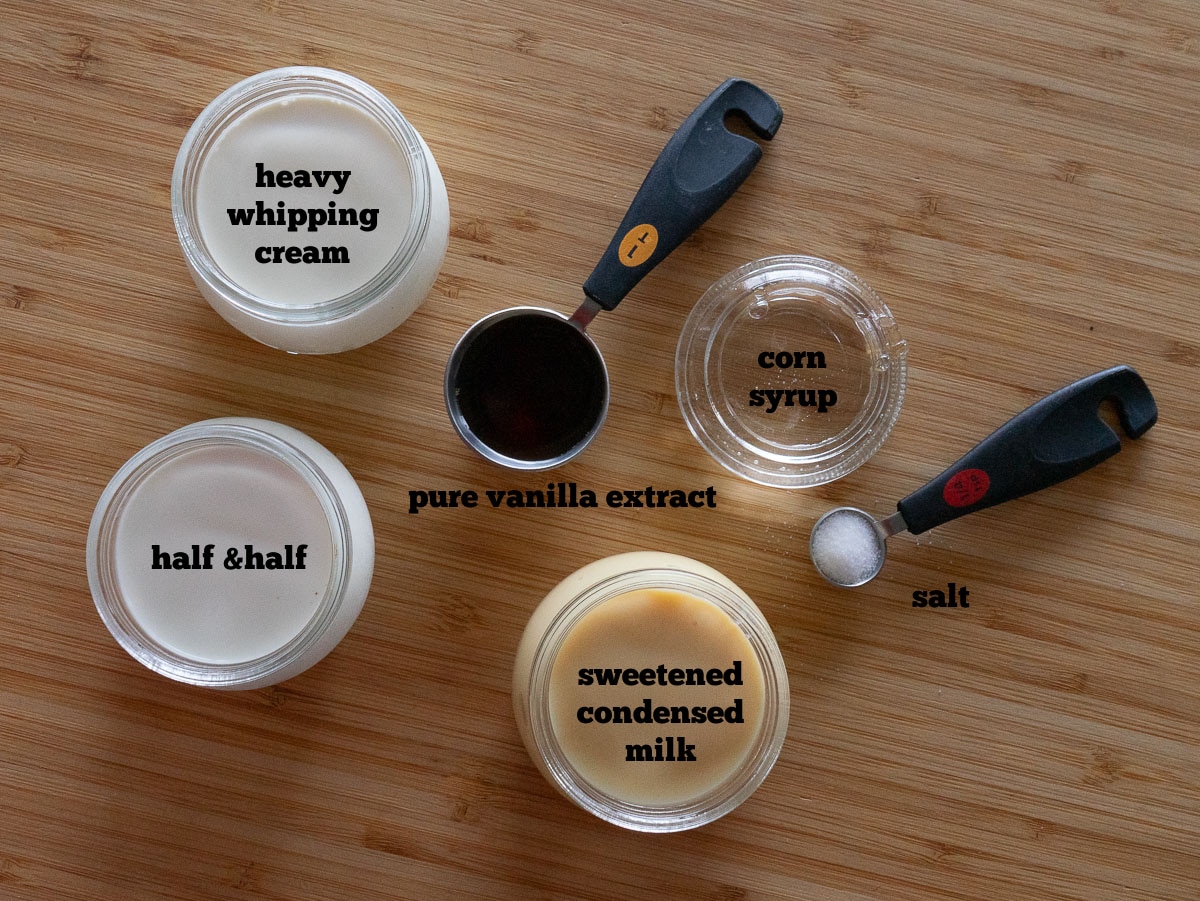
Gather these ingredients
This is how you make creamy blender ice cream
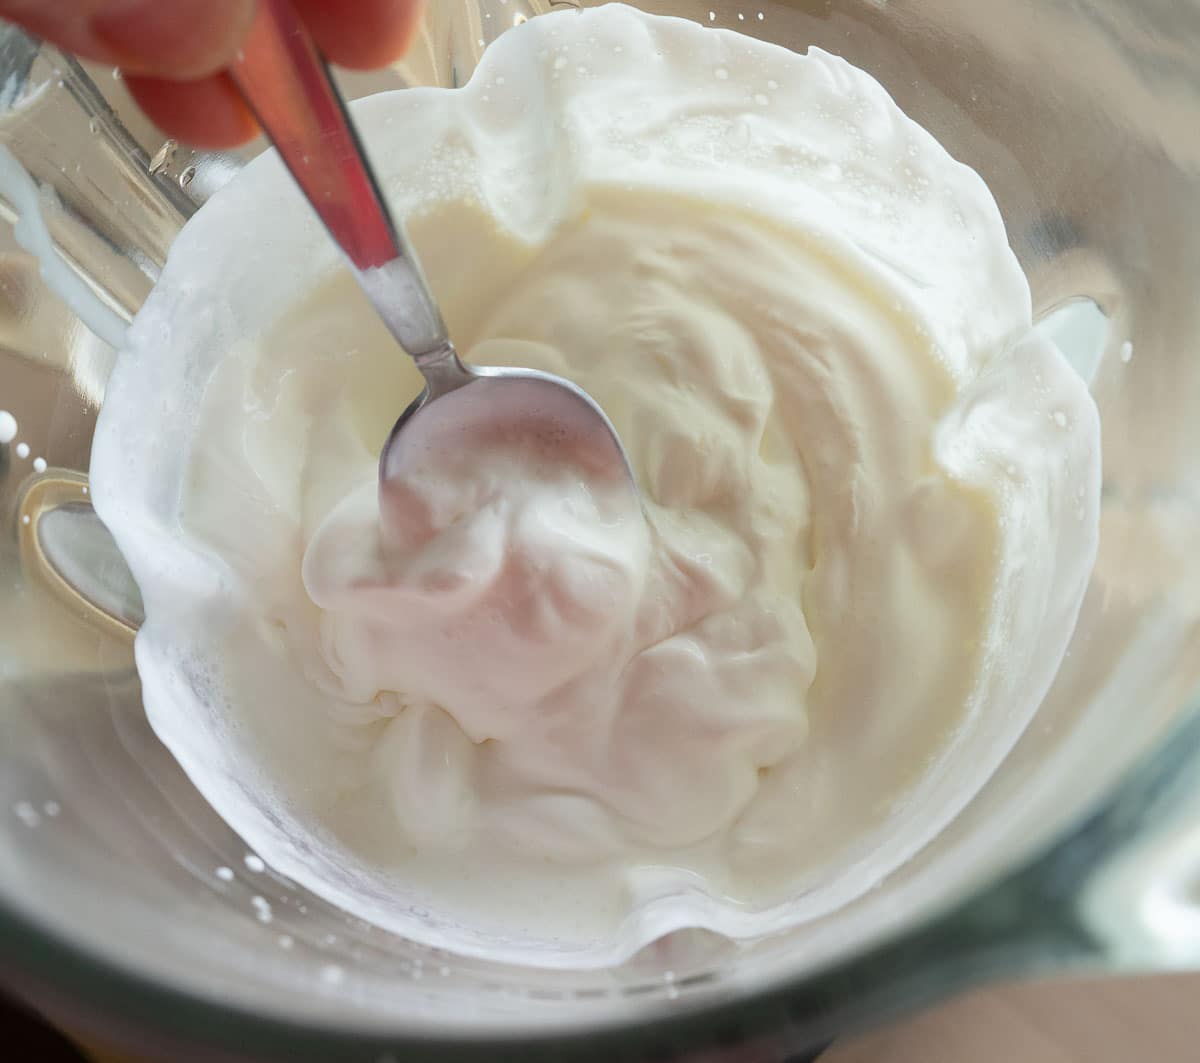
Add the heavy whipping cream to your blender. Blend for about 1 minute maybe 2 until the whipping cream just starts to tighten up, but doesn’t form stiff peaks. You want it a little loose.
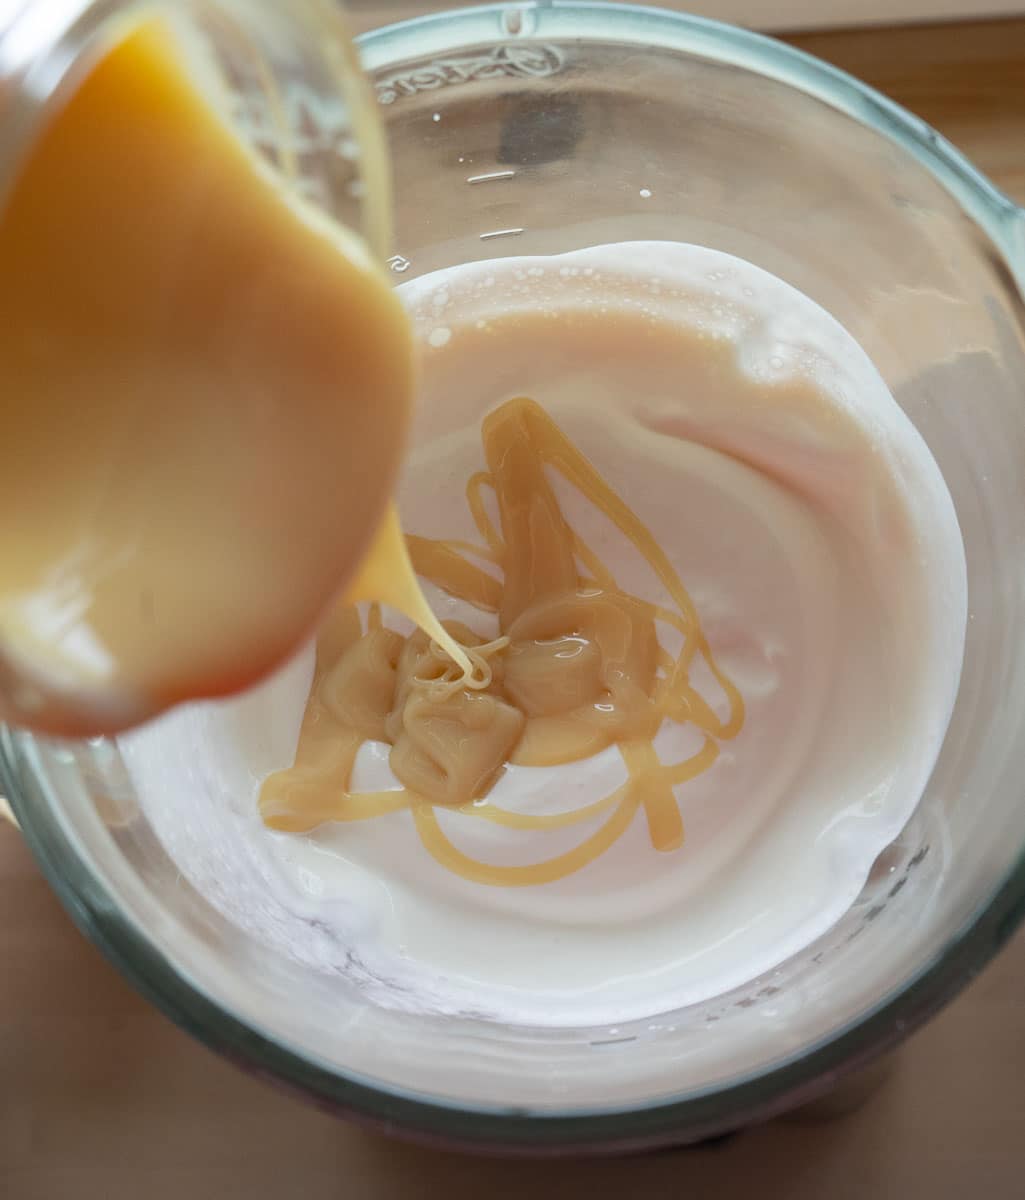
Now add half and half and 1 can Eagle Brand Sweetened Condensed milk, blend for another 90 seconds or so.
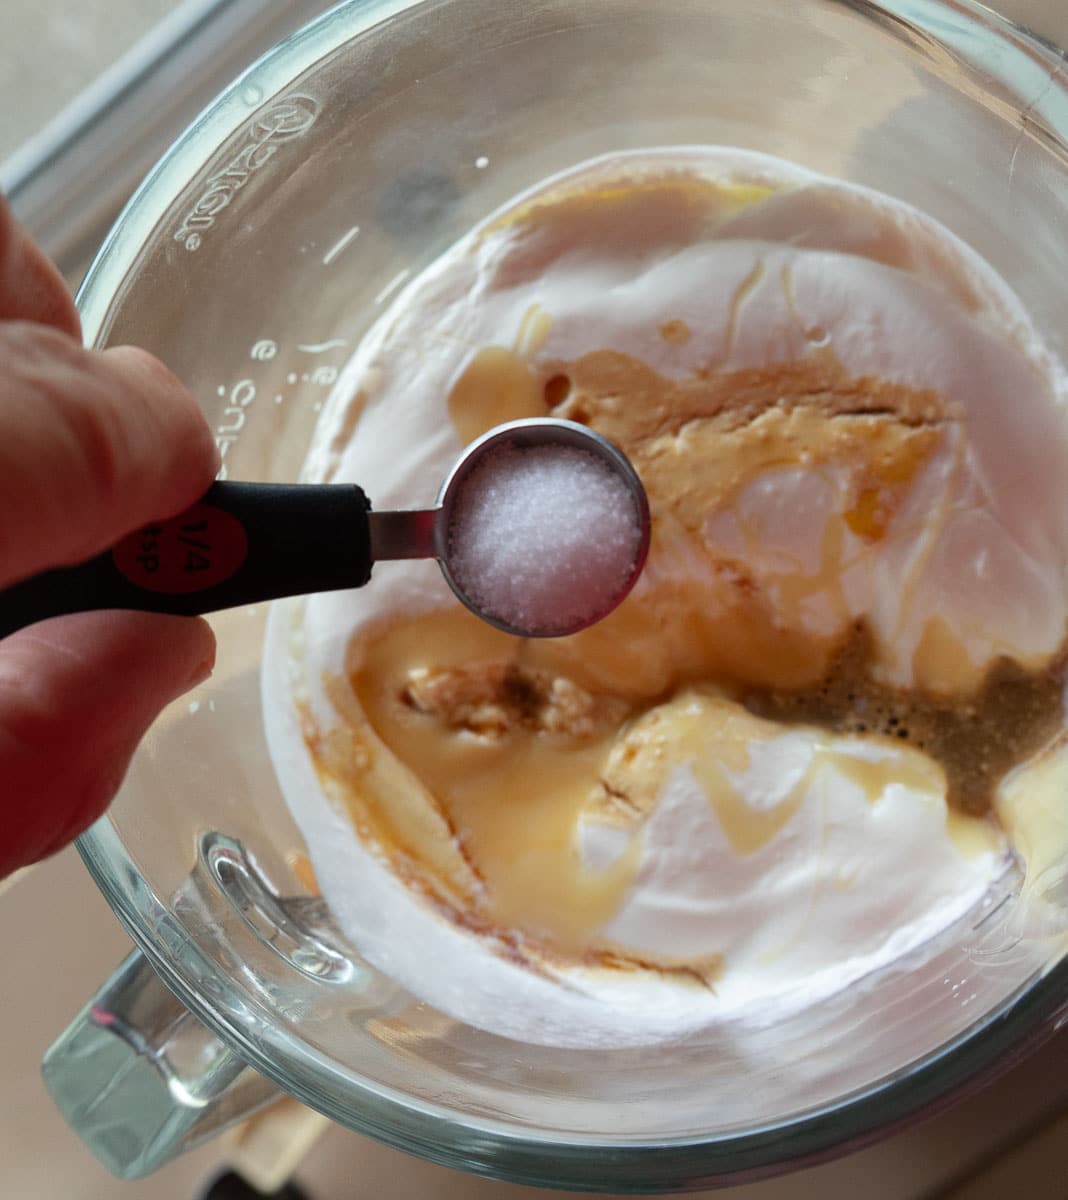
Last, add corn syrup, salt, and vanilla. Blend on high for an additional 1-2 minutes.
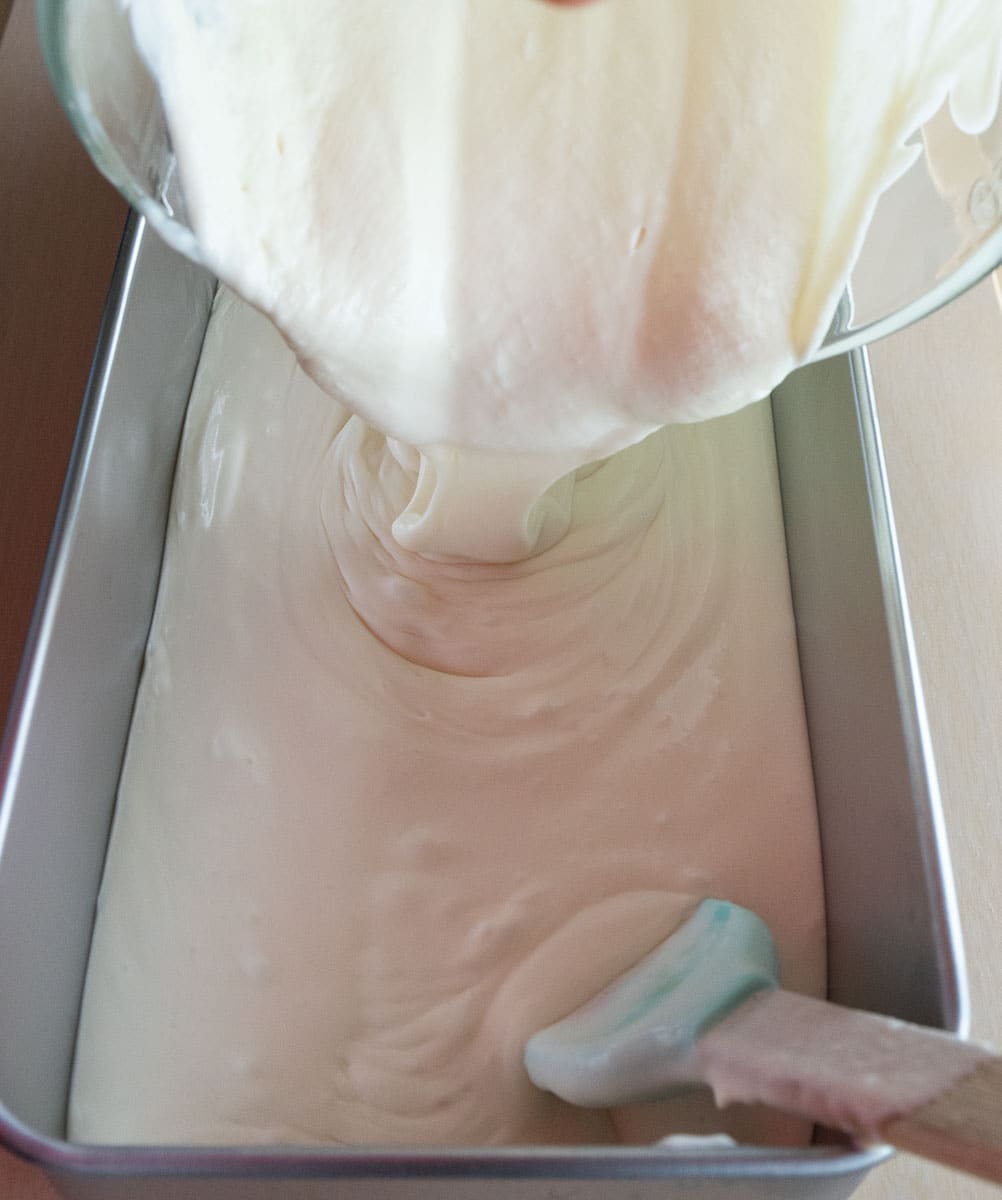
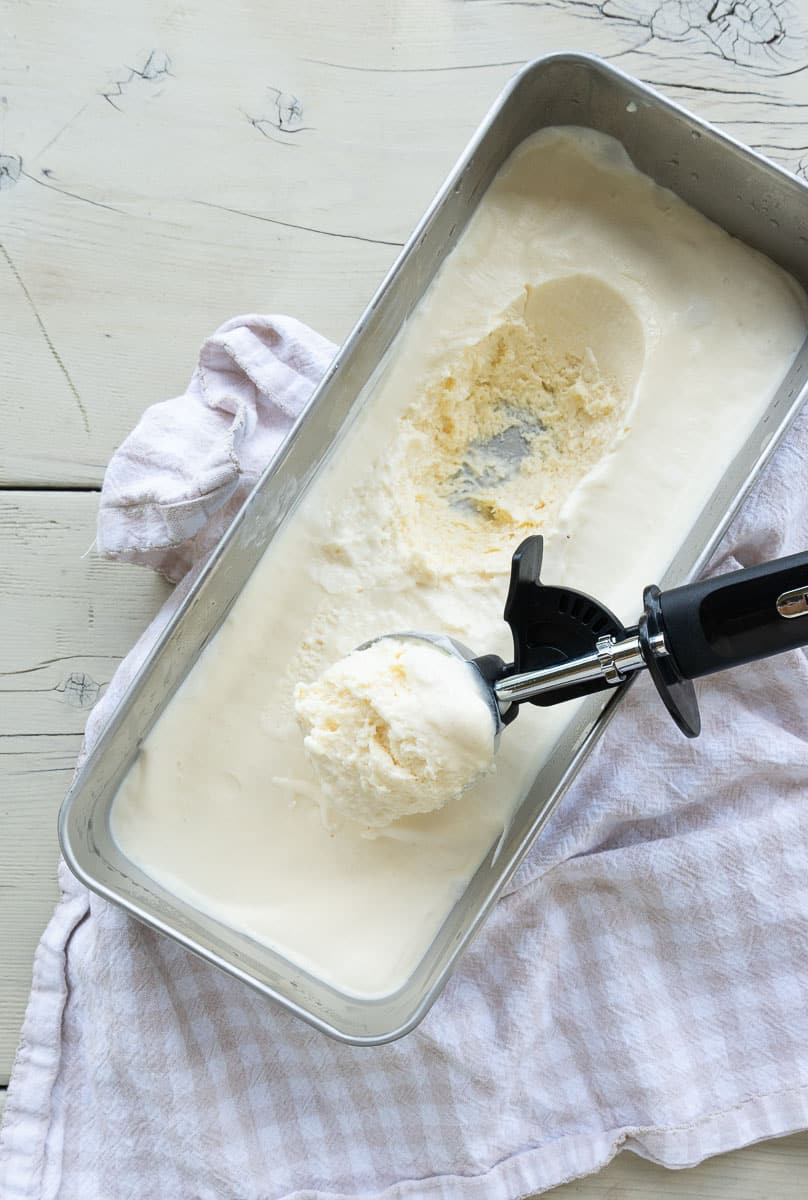
Pour ice cream batter into a deep oblong pan or glass dish, or if you happen to have a 1.5 quart plastic container with a lid this works too. cover tightly with plastic wrap or if the container has a lid use that. Place in freezer and freeze for a minimum of 6 hours, or until firm and scoopable.
That is it!

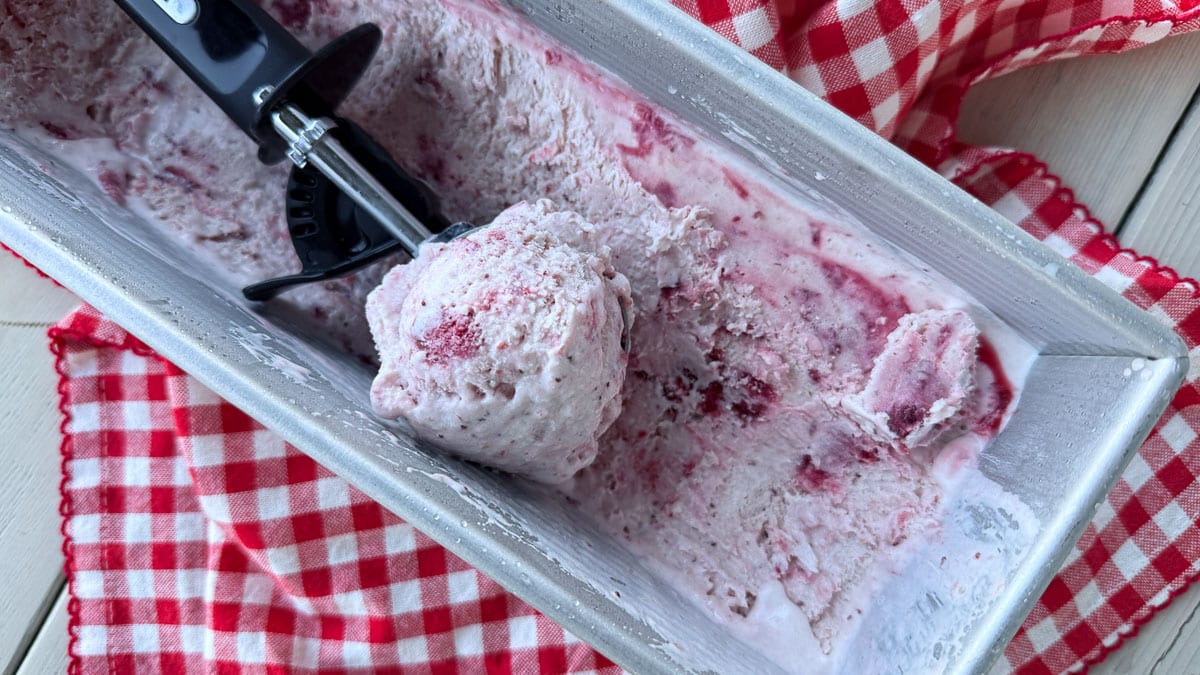
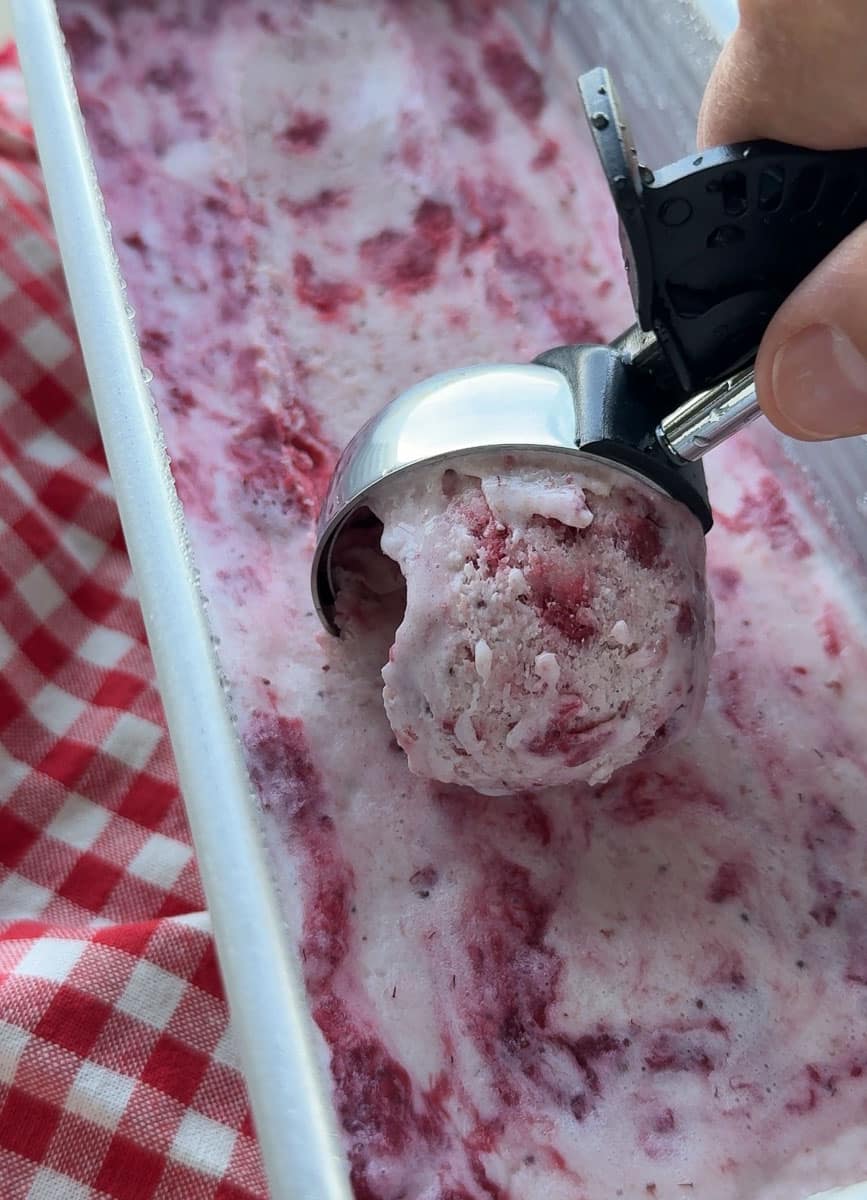
Featured Variation: Fresh Strawberry Ice Cream
If you only make one variation of this base recipe, let it be this one. Fresh strawberry season is the perfect excuse to put this blender ice cream to work, and the flavor is so much better than anything you’ll find at the store.
To make the strawberry swirl, start by smashing 3 cups of fresh strawberries and combining them with ½ cup granulated sugar in a saucepan. Cook this down over medium heat for about 30 minutes, stirring occasionally, until it thickens into a jammy strawberry sauce. This step is key — cooking the strawberries down concentrates the flavor and keeps the ice cream from turning icy, since you’re removing a lot of the extra water from the berries. Once it’s done cooking, let the strawberry mixture cool completely before using it.
Once your base ice cream batter is ready in the blender, add 1 cup of the cooled strawberry mixture right in and blend until combined — this gives the whole batch a light strawberry flavor and color throughout. Pour the ice cream into your loaf pan or freezer-safe container, then spoon the remaining strawberry mixture over the top and swirl it through with a knife or spoon. Those ribbons of fresh strawberry running through the creamy vanilla base are what make this version so pretty (and so good).
Tip: For the best swirl, don’t overmix once you add the remaining strawberry on top — a few gentle swirls is all you need to get those beautiful ribbons without turning the whole thing pink.
Flavor Variations
This base recipe is just the beginning — once you’ve got the method down, the flavor possibilities are endless. Stick to about 2 cups of add-ins total per batch for the best texture, and fold them in gently once your base is blended.
- Chocolate Chip – Fold in 1 cup mini chocolate chips for that classic chocolate chip ice cream everyone loves.
- Cookies and Cream – Crush 2 cups of Oreo cookies and fold them in for a fun, crunchy twist.
- Peanut Butter Swirl – Warm ½ cup peanut butter until pourable, then swirl it through the base along with 1½ cups chopped peanut butter cups. Optional to swill in hot fudge sauce as well. (crushed Nutter Butter Cookies are also great in this version)
- Peach – Swap the strawberries for 2 cups cooked-down fresh peaches for a sweet summer favorite. (This actually works with nearly any fresh fruit.)
- Mint Chocolate Chip – Add a few drops of mint extract to the base, then fold in 2 cups mini chocolate chips.
- Cherry Vanilla – Fold in 2 cups chopped fresh or frozen cherries (pitted) along with a splash of almond extract.
- Blackberry Chocolate Chip – 3 cups of blackberries cooked down with 1/2 cup sugar cook until jammy (about 30 minutes). Stirring continually. Allow to cool. Add one cup to the batter. Swirl in the remaining blackberry sauce and 1/2-1 cup chopped dark chocolate.
Each of these starts with the same easy ice cream base — so once you make it once, you’ll have a whole world of flavors at your fingertips.
Frequently Asked Questions
Do I need an ice cream maker for this recipe?
Nope, not at all! That’s the best part — this recipe comes together right in your blender. No machine, no churning, no waiting around. Just blend, freeze, and scoop.
What kind of blender works best?
A high-powered blender (like a Vitamix or Blendtec) will give you the smoothest, creamiest results, but a regular blender works just fine too — you may just need to blend a little longer or stop and scrape down the sides once or twice.
Can I use my immersion blender instead?
Yes! If you don’t have a high-powered blender, an immersion blender works great too. Just add your ingredients to a large bowl in the same order, and blend for the same amount of time as you would in a regular blender. Be sure to move the immersion blender around the bowl as you go so everything blends evenly and consistently.
Can I use frozen strawberries instead of fresh?
Yes, and honestly, frozen strawberries work beautifully here since they help the ice cream get that thick, creamy texture without needing extra ice. If you’re using fresh strawberries, I recommend freezing them first for about an hour before blending.
How long does this ice cream keep in the freezer?
It’s best enjoyed within 1–2 weeks for the creamiest texture. Store it in an airtight container with a piece of parchment or plastic wrap pressed right on top to help prevent ice crystals.
My ice cream turned out icy instead of creamy — what happened?
This usually means it needs a little more fat or it wasn’t blended quite long enough to get fully smooth. Make sure your ingredients are well-blended and creamy before freezing, and let it freeze in a shallow container so it sets evenly.
Can I make other flavors with this same base?
Yes — that’s the fun part! Once you’ve got the base down, you can swap in your favorite mix-ins. Scroll down for some of our family’s favorite variations.
Do I need to let it soften before scooping?
A few minutes on the counter (5–10 minutes) will make scooping easier, especially if it’s been in the freezer for a few days.
Tips for Success
- Use a high-fat heavy cream. This is what gives the ice cream its rich, smooth texture without a machine, so don’t skimp here or swap in a lighter cream.
- Don’t skip the corn syrup. I know it can feel like an odd ingredient to add to homemade ice cream, but it really does help keep the texture soft and scoopable straight out of the freezer instead of rock hard.
- Freeze in a long, shallow container. A loaf pan is my go-to here — because the ice cream freezes in a thinner layer, it sets evenly all the way through, with no soft middle or rock-hard edges. Plus, the shallow shape makes it so much easier to scoop straight from the freezer, no fighting required.
- Press plastic wrap or parchment directly on top before freezing. This little step helps prevent ice crystals from forming on the surface, so your ice cream stays creamy longer.
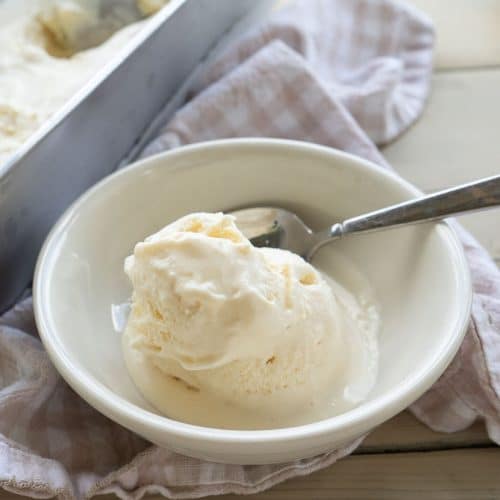
- Let it soften before scooping. Five to ten minutes on the counter makes all the difference for that perfect, easy scoop.
- Cook down any fruit mix-ins first. If you’re adding fresh fruit (like the strawberries here), cooking it down removes excess water so your ice cream stays creamy instead of icy.
- Don’t overmix your swirls. A few gentle folds with a knife or spoon is all you need — overmixing will blend everything together and you’ll lose those pretty ribbons.
I’m so glad you are here!
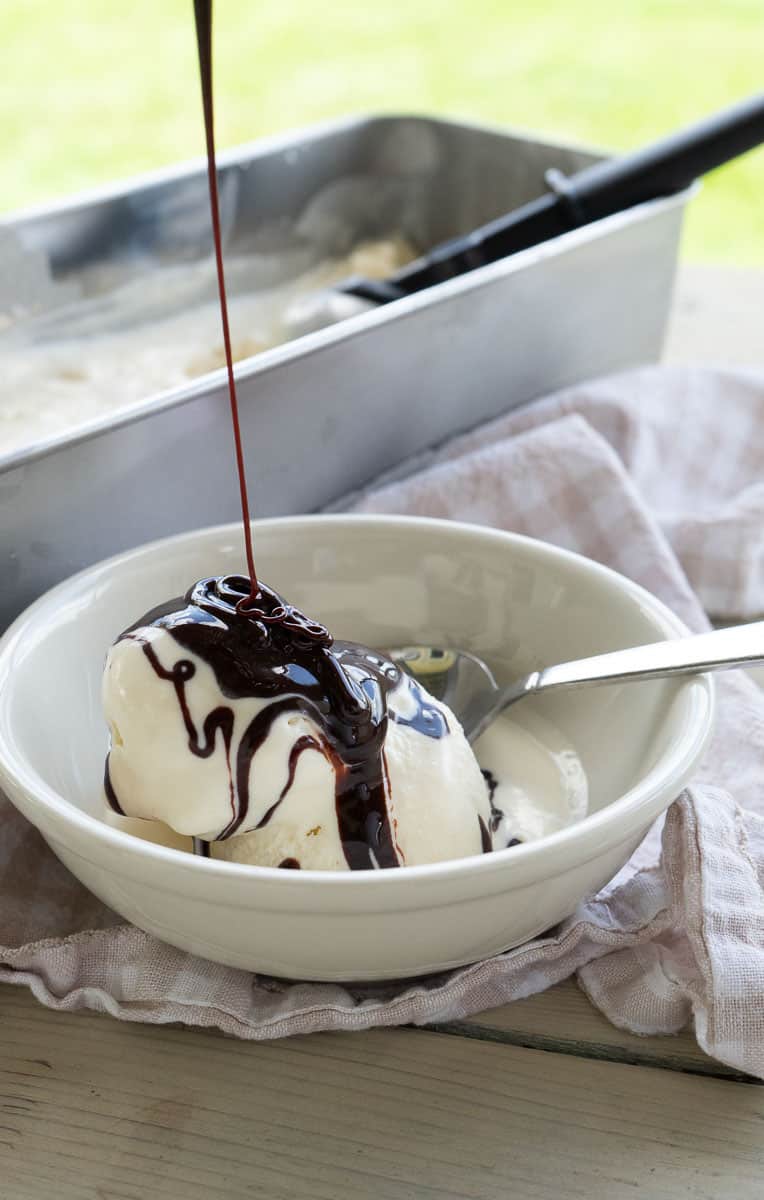
At the end of the day, this homemade ice cream recipe proves you don’t need a fancy ice cream maker, rock salt, or a hand crank to enjoy creamy, delicious homemade ice cream — just a few basic ingredients and a blender. Whether you stick with classic vanilla extract or swap in vanilla bean paste for an extra special touch, this ice cream mixture comes together in minutes and delivers the best results every single time. Drizzle a little caramel sauce on top of the ice cream, or use the base to create different flavors all summer long — the possibilities really are endless. Scroll down for the full recipe and print-friendly recipe card, and get ready to fall in love with your new favorite way to make ice cream at home. From my kitchen to yours with love, Sheila
Easy Homemade Blender Ice Cream (No Machine Needed)
Equipment
Ingredients
- 2 cups heavy whipping cream
- 14 ounce can sweetened condensed milk
- 1/2 cup half and half
- 1/4 cup corn syrup
- 1 tsp pure vanilla extract
- 1/4 tsp salt
Instructions
- Add heavy whipping cream to blender bowl, place cover tightly on and turn on high for 1-2 minutes or until cream is just starting to form peaks but is still loose.
- Add sweetened condensed milk and half and half. Blend for another minute or so until everything is completely combined.
- Add corn syrup, salt, and vanilla extract ( you can add up to 1 tablespoon vanilla extract, see notes section) blend on high for another minute or two.
- Pour ice cream batter into a 1.5-2 quart container with a lid. I like to use a bread pan with a lid or I wrap it tightly in plastic wrap. Place in freezer and allow a minimum of 6 hours for freezing.