

Best Loaded Pumpkin Scone recipe with Spiced Pumpkin Glaze
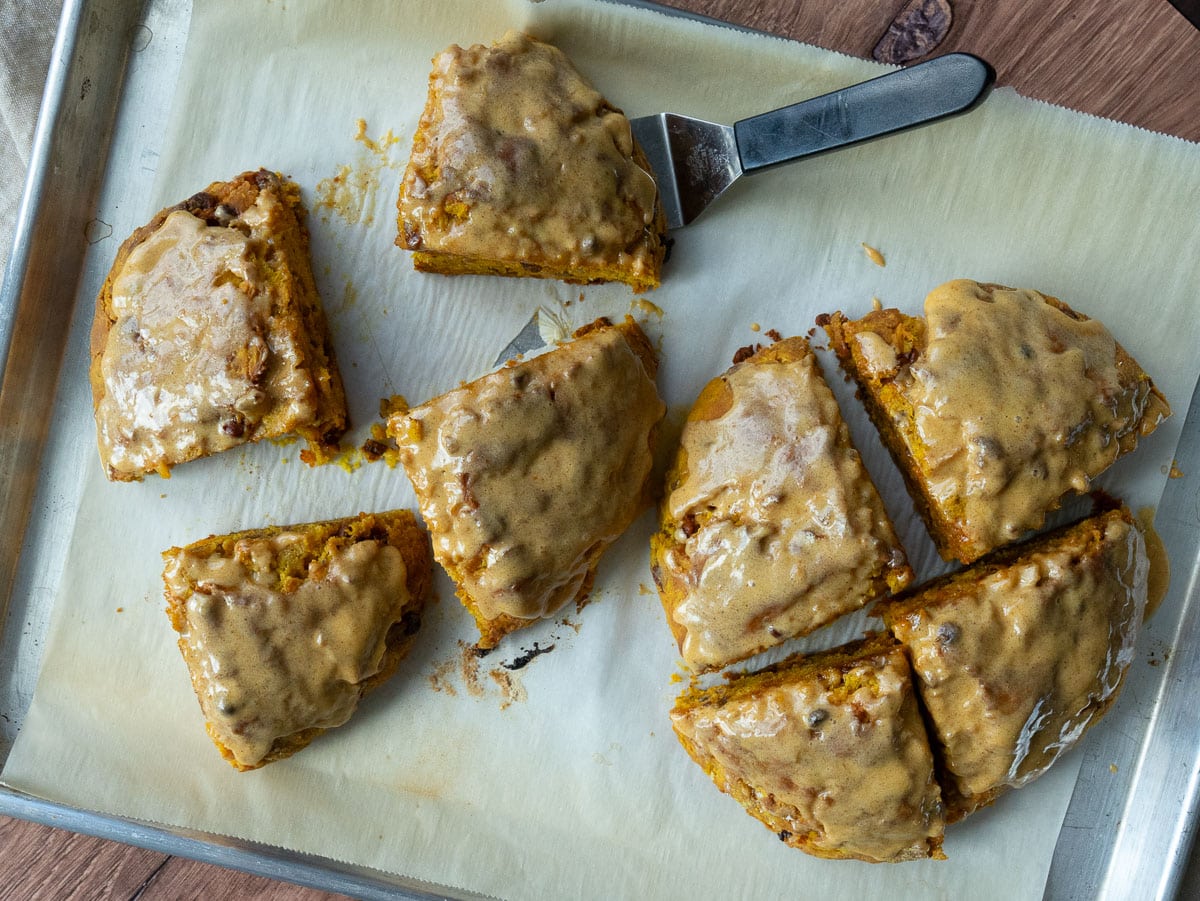
If you love pumpkin recipes and cozy fall baking, you’re going to want to add these Loaded Pumpkin Scones to your list! This pumpkin scone recipe makes tender, buttery scones filled with warm pumpkin spice flavor and finished with a sweet, spiced glaze. They have just the right balance of a lightly crisp exterior and soft, tender centers with those irresistible flaky layers we all love in the best scones.
I’ve made plenty of scone recipes over the years, but these are some of my favorites for fall. They’re an easy scone recipe that feels special enough for a weekend brunch but simple enough to make when you’re craving a warm scone with your morning coffee. If you’re looking for amazing pumpkin scones to share with family and friends—or simply to enjoy yourself—this recipe is a delicious place to start.
Why I love this scone recipe
I love a good scone, and these pumpkin scones are especially hard to resist. They are loaded. Ridiculously loaded with with pumpkin, warm pumpkin pie spices, and plenty of delicious add-ins, like cinnamon chips, candied ginger, toasted pecans and then if that wasn’t enough I finish them off with a sweet spiced pumpkin glaze. They feel a little bit fancy, but they’re actually quite simple to make.
These are the kind of scones I love to set out on a lazy Saturday morning or when we have family or friends staying with us for the weekend. They are also perfect for a fall brunch, and make a lovely afternoon treat. And honestly, you don’t need a special occasion—sometimes a warm pumpkin scone is reason enough to put the kettle on and invite someone over. Does any one still do that? Invite people over…just for coffee and a scone. I used to. I think I need to get back to that practice.
Gather these ingredients
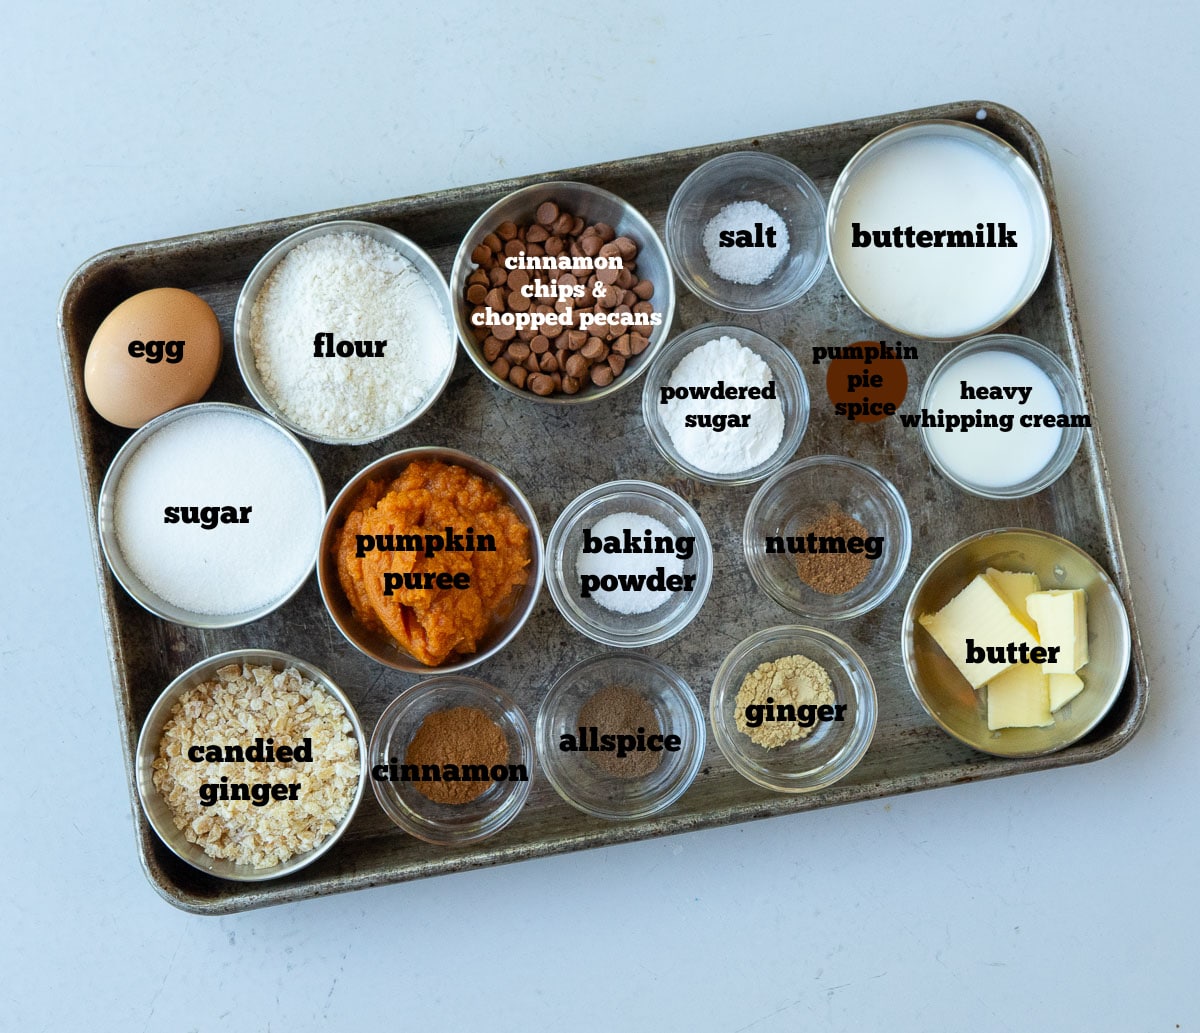
If you’re a pumpkin lover like me, grab your mixing bowl and let’s make some scones!
How to make Loaded Pumpkin Scones
Making homemade scones is easier than you might think. The key is to keep your ingredients cold, handle the dough gently, and resist the temptation to over mix. And your hands are going to get dirty, you can wash them. The mess is worth it!
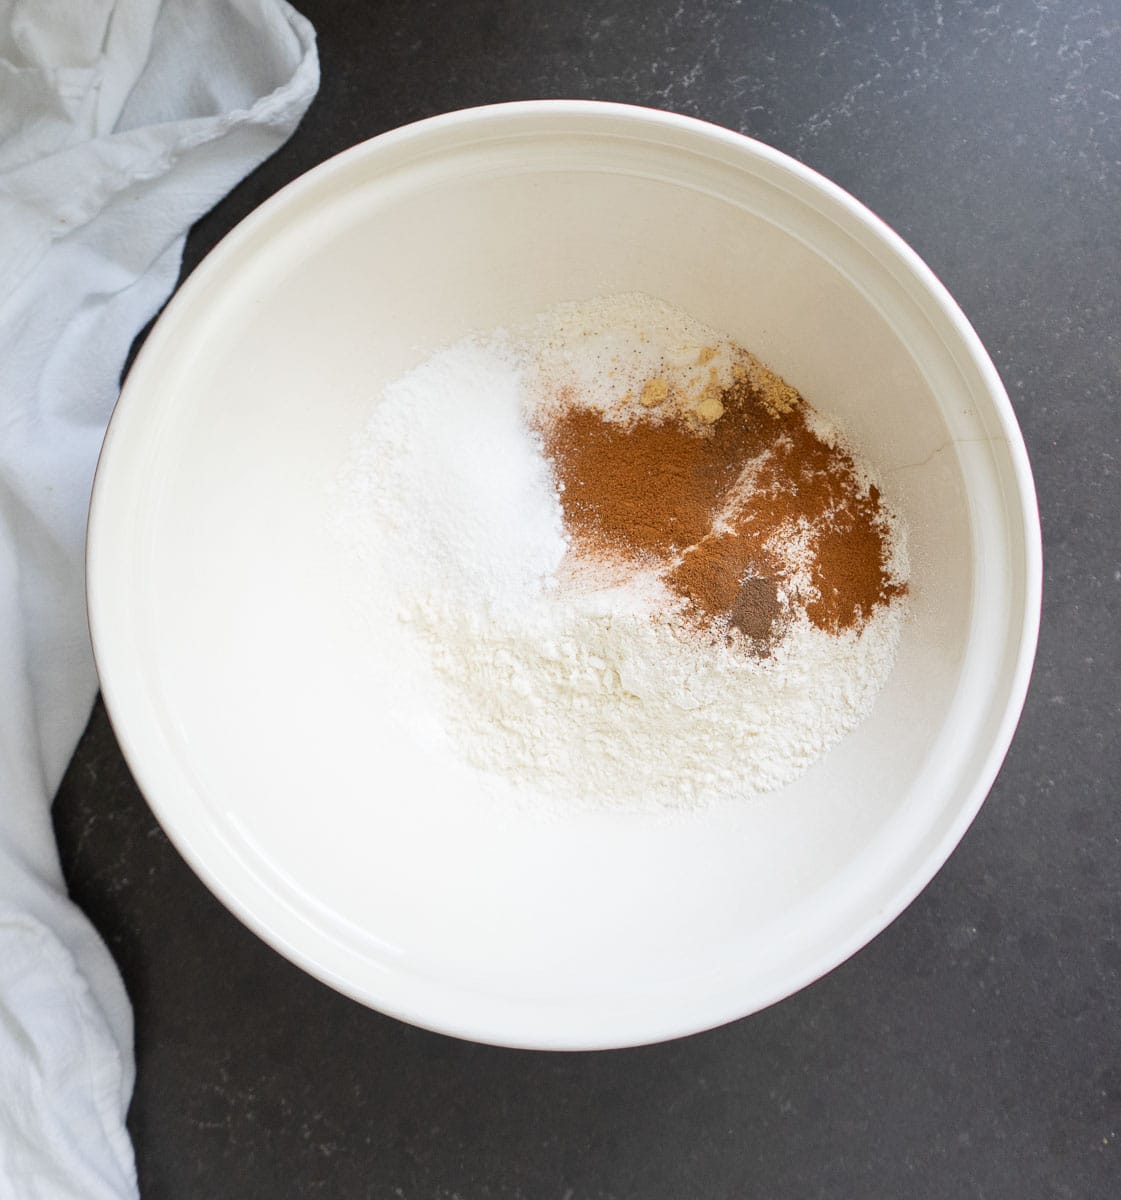
Combine dry ingredients. In a large mixing bowl, whisk together the flour, sugar, baking powder, salt, cinnamon, nutmeg, allspice, and ginger. Mixing the dry ingredients first helps distribute the leavening and spices evenly throughout the dough.
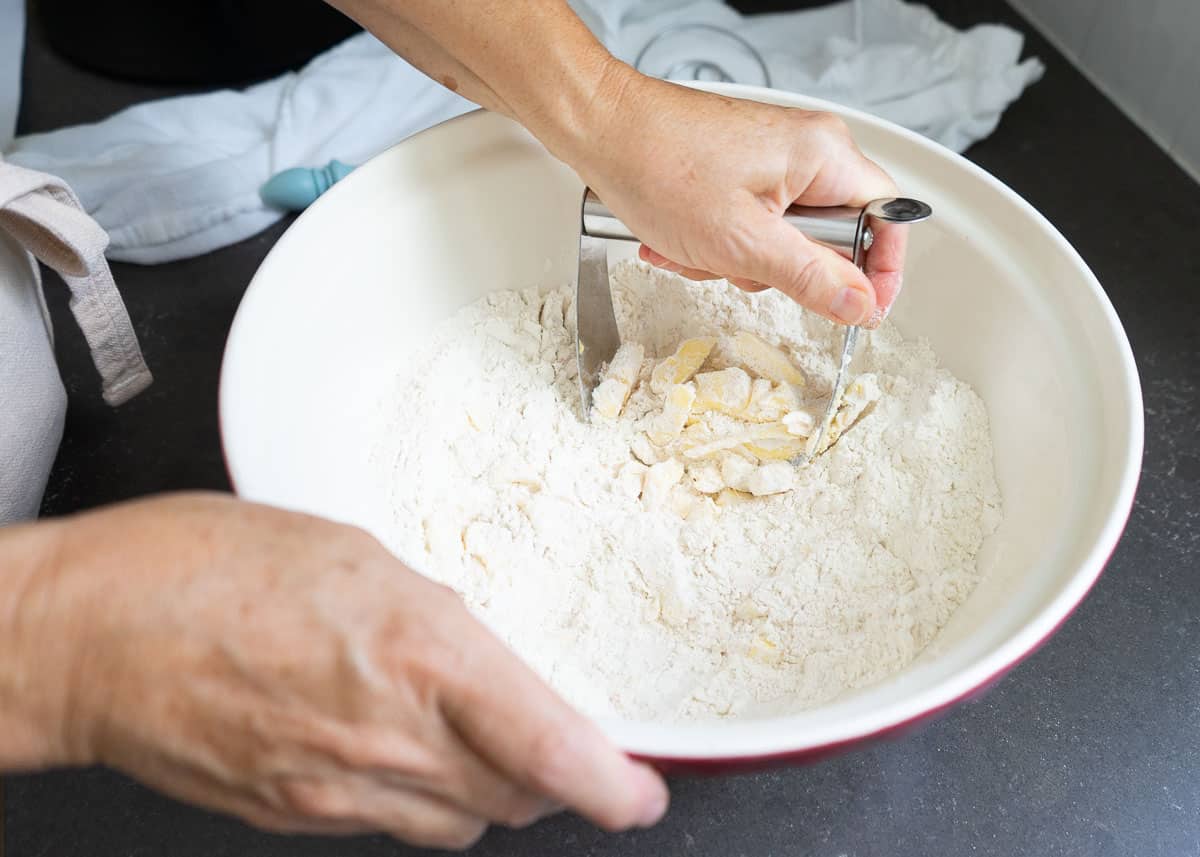
Cut in cold butter. Add the cold butter and use a pastry cutter, fork, or your fingertips to work it into the flour mixture. You’re looking for a coarse, crumbly mixture with some small pieces of butter still visible.
Those little pieces of cold butter are exactly what you want. As the scones bake, the butter creates pockets of steam that help give the scones their tender, flaky texture.
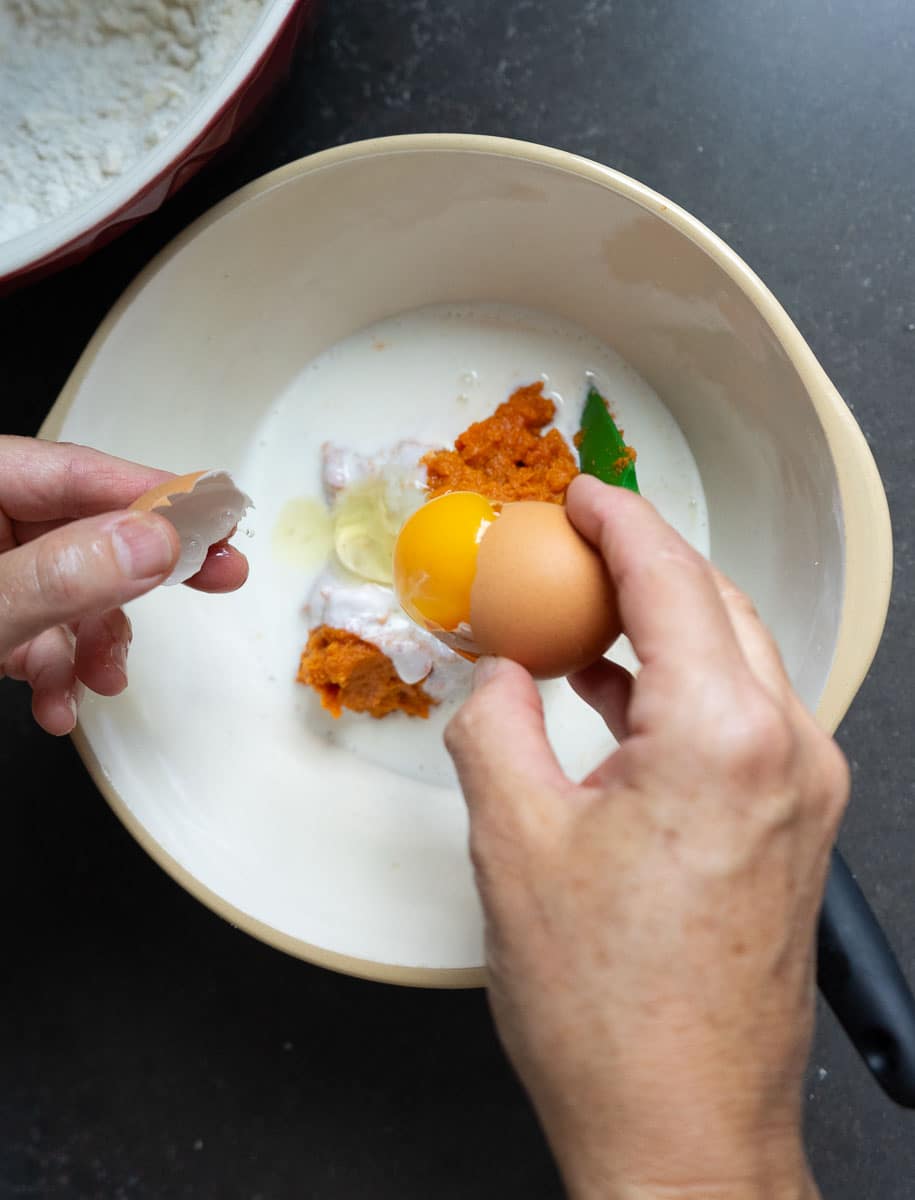
In a separate bowl, whisk together the pumpkin, buttermilk and the egg.
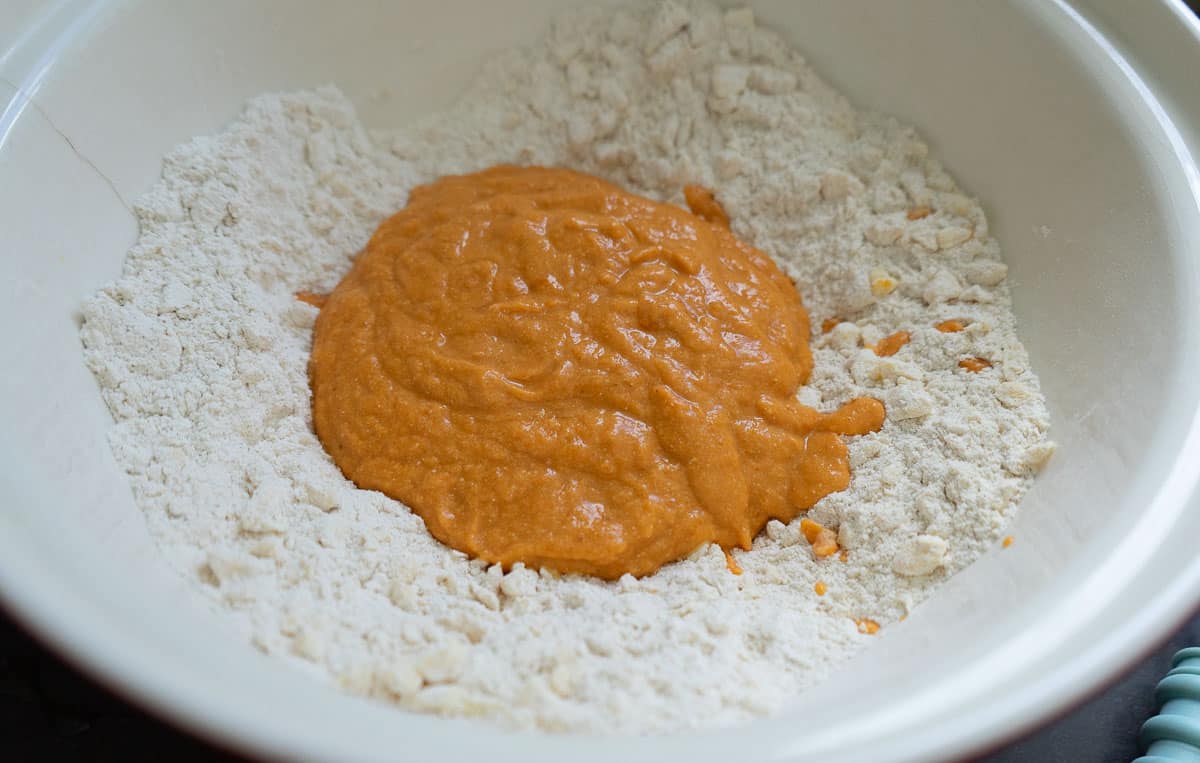
Add the wet ingredients. Create a well in the center of the dry ingredients and pour the pumpkin mixture into the dry ingredients and gently combine until the dough just begins to come together.
Don’t worry if the dough looks a little shaggy. That’s okay! You do not want to over mix your scone dough. Over mixing is one of the easiest ways to end up with tough scones.
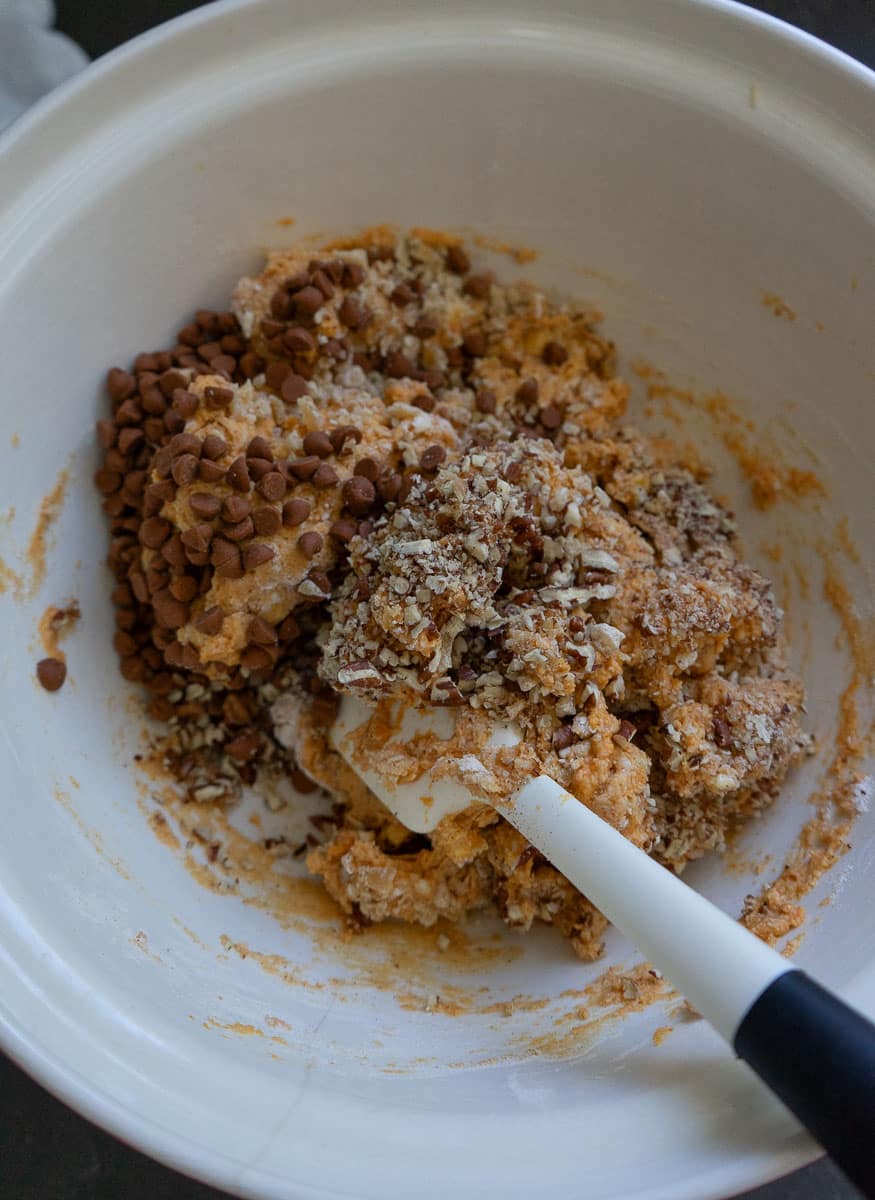
Fold in all the good stuff. Gently fold in the ingredients that make these scones “loaded.” Be careful not to overwork the dough as you incorporate them. With spatula keep turn the dough in the bowl until any loose bits are stuck in the dough.
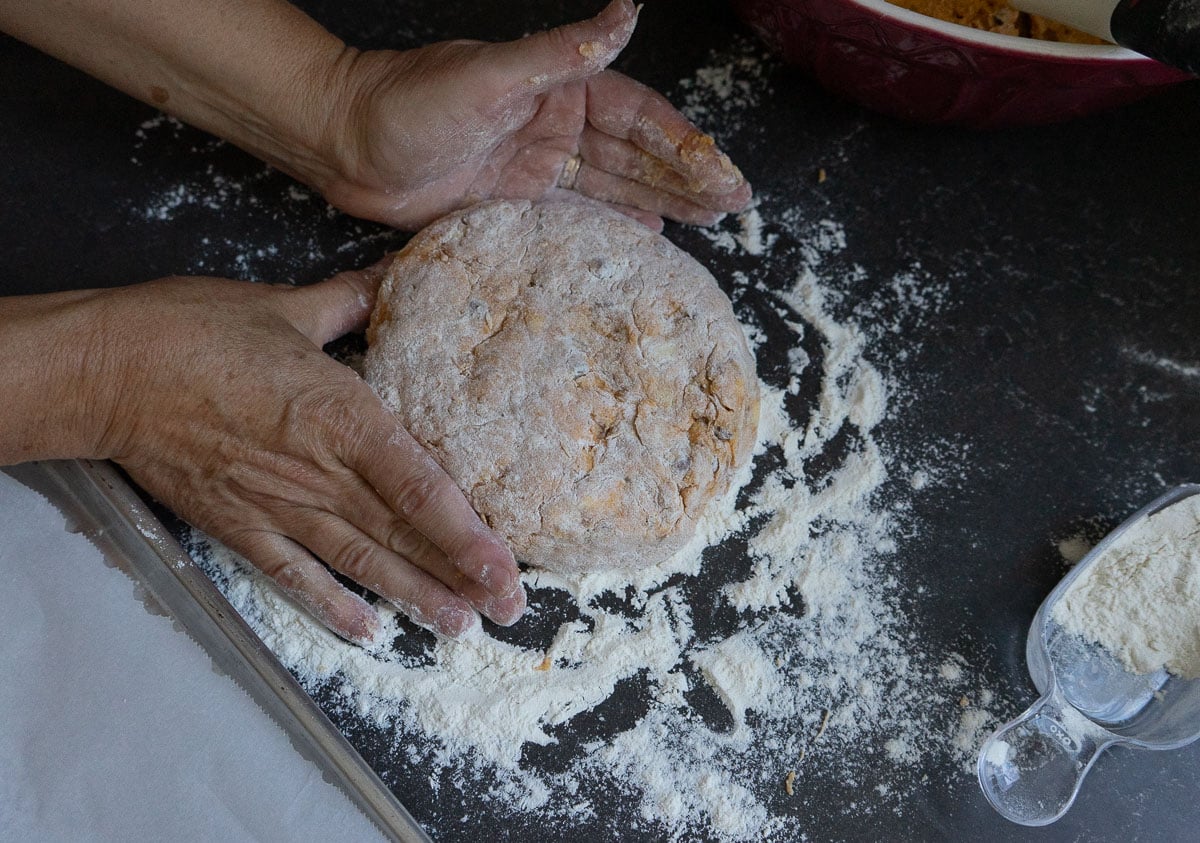
Shape the dough. Turn the dough onto a lightly floured surface and gently bring it together with your hands. Cut it into two even pieces. Shape each half into a thick round.
, then cut it into four wedges.
You want the dough to be cohesive but not compressed or overworked.
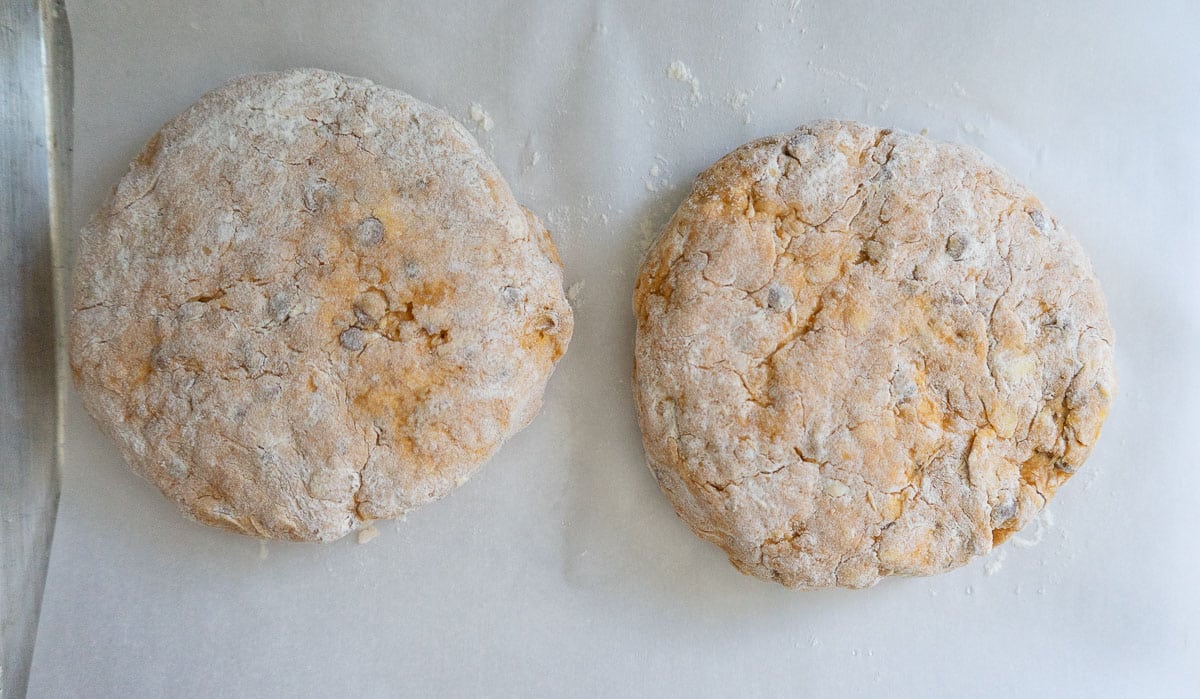
Place in freezer. Now that you have two discs of dough placed on a parchment lined baking sheet pop them in a freezer for at least 30 minutes, but no longer than an hour.
While scones are resting in the freezer Preheat oven to 425 degrees F.
Remove from freezer and cut each disc into four wedges, like a pie. Move them slightly away giving them just a crack of space between each wedge.
Bake the scones in a preheated oven until they’re puffed and lightly golden around the edges. Approximately 25-30 minutes.
Transfer them to a wire rack and allow them to cool slightly before drizzling with glaze.
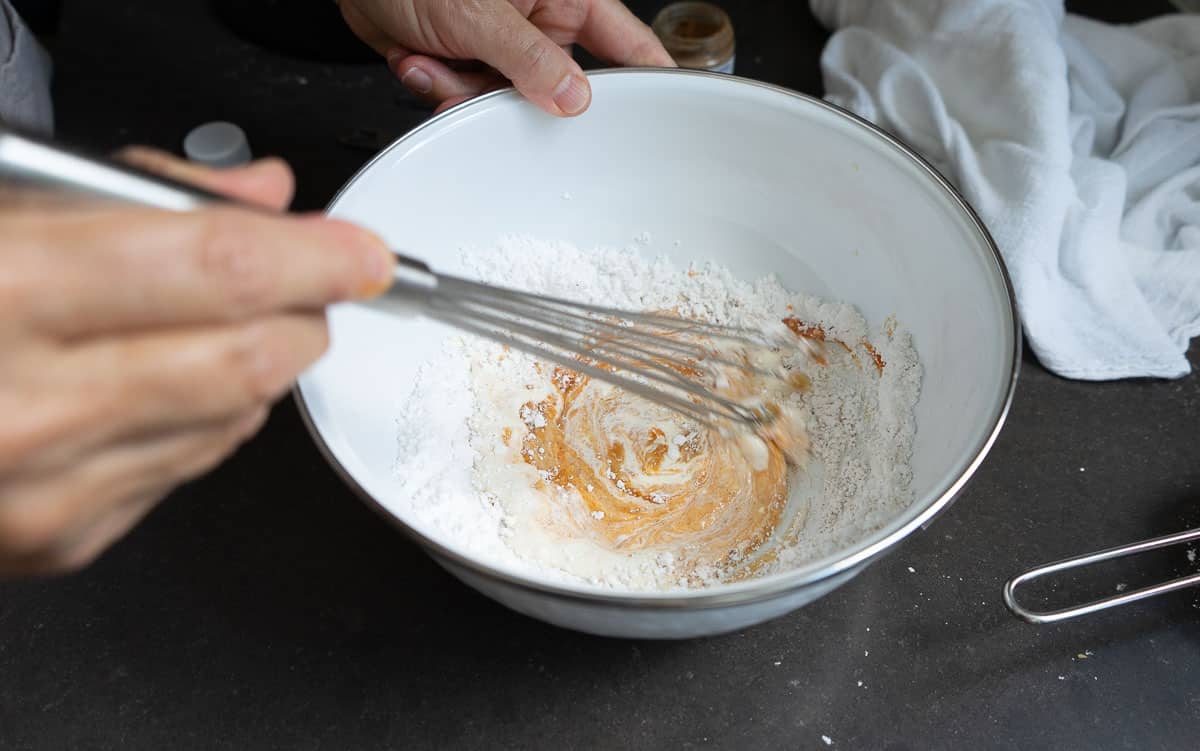
Pumpkin Spice Glace: Combine powdered sugar, pumpkin pie spice, pumpkin puree, and heavy whipping cream (milk or half and half work as well) in a small mixing bowl. Whisk until smooth and an even consistency. You want it a little runny but not so runny that is falls right off the scone.
Once the scones have cooled enough, drizzle the spiced pumpkin glaze over the top. Let the glaze set for a few minutes—if you can wait that long!
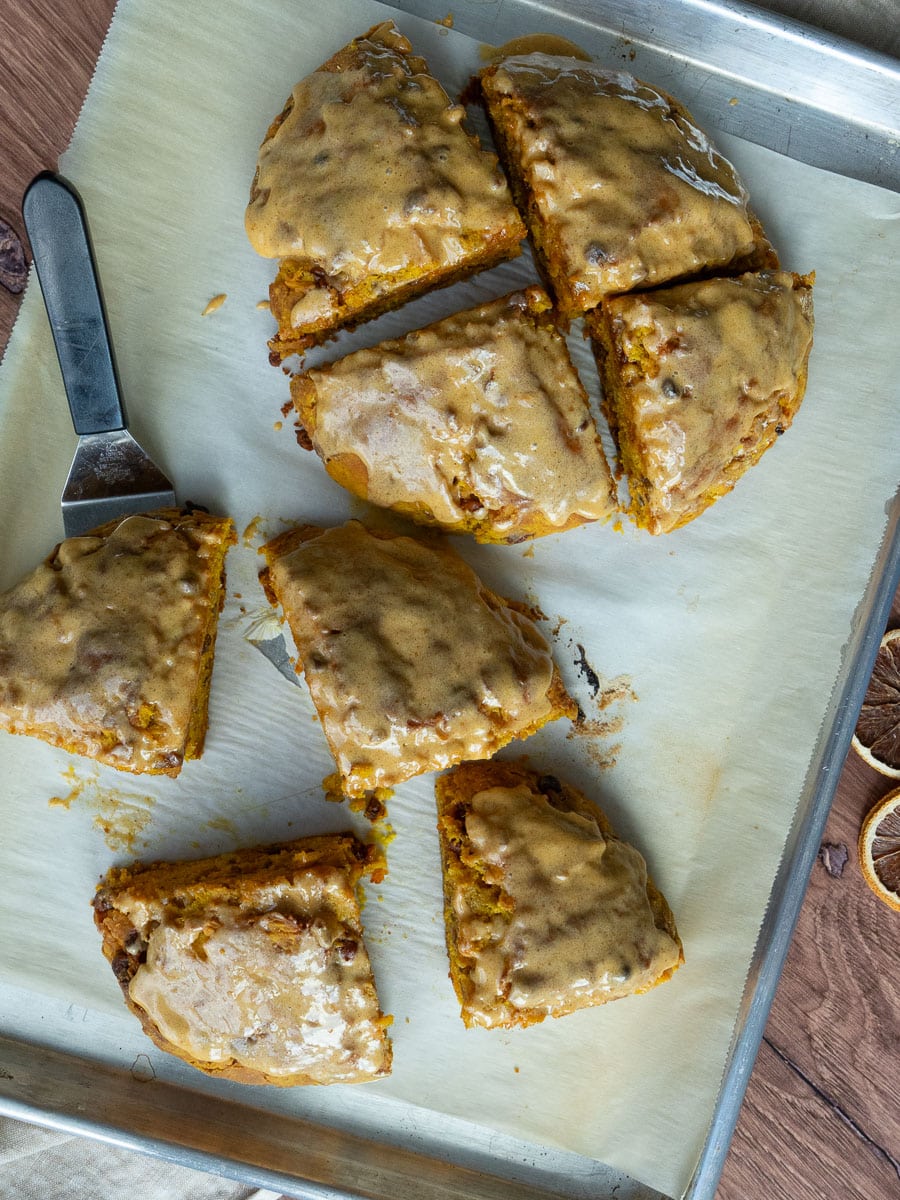
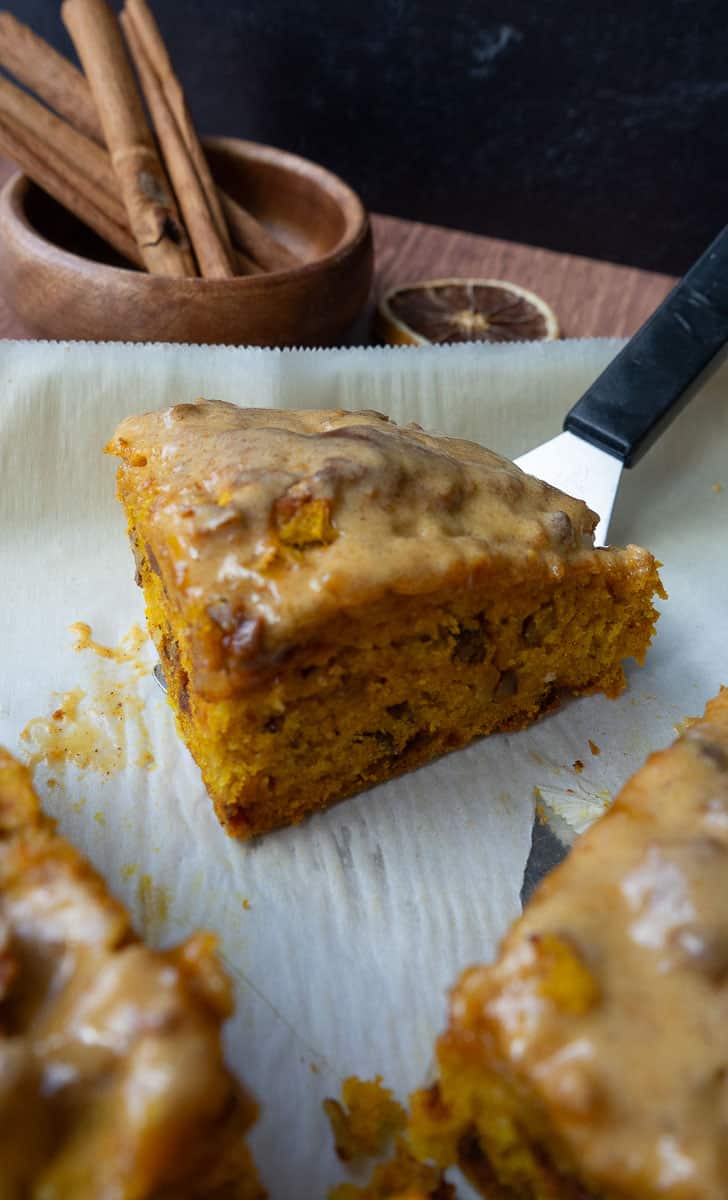
Serve warm with a cup of coffee or tea and enjoy every loaded and buttery, pumpkin-spiced bite.
Best Practices for Making Scones
Scones don’t have to be intimidating! Once you know a few simple tricks, you’ll be making bakery-worthy scones at home. Here are my best tips for tender, buttery scones every time.
Keep the butter cold
It is actually crucial to keep everything cold, especially the butter. One of the secrets to good scones is not letting the butter start to melt. Cut the cold butter into small pieces and keep it cold until you’re ready to use it. If your kitchen is warm or the dough starts feeling soft and sticky, pop it in the refrigerator or your freezer for a few minutes.
Don’t overwork the dough
This might be the most important scone rule: less is more. Mix and knead the dough just enough for it to come together. Overworking develops the gluten in the flour and can leave you with tough, dense scones instead of tender ones.
Leave some pieces of butter
Don’t worry about getting the butter completely incorporated. Small pieces of butter throughout the dough are a good thing. They melt in the oven and help create a tender, flaky texture.
Don’t add too much flour
It can be tempting to keep adding flour if your dough feels a little sticky, but try not to. A slightly soft dough will yield a more tender scone. Use just enough flour to make the dough manageable. Your counter and your hands are going to me a sticky mess. It’s worth it!
Chill the shaped scones
Don’t skip the chilling step! Freezing the shaped scones before baking allows the butter to firm back up. This helps the scones hold their shape and gives them a better texture once baked.
Use a sharp knife
If you’re cutting the dough into wedges, use a sharp knife and make clean cuts. Avoid sawing back and forth, which can compress the edges and prevent the scones from rising properly. When dough is cold and slightly frozen it makes it easier to cut the dough into wedges without squishing it.
Don’t overbake
Scones are best when they’re just baked through and lightly golden. Overbaking can make them dry. Keep an eye on them toward the end of the baking time. If they seem to be getting burned and are not done in the middle cover with a piece of foil.
If you have a kitchen thermometer you can also poke it into one of the scones the internal temp should be between 195-205 degrees F. Remember there will be some residual baking once they come out of the oven.
Allow scones to cool before glazing
Give the scones a few minutes to cool before adding the glaze. If they’re piping hot, the glaze will melt right off instead of giving you that pretty drizzle on top.
Make them ahead
Scones are wonderful for entertaining because you can prepare the dough ahead of time. Shape the scones, place them on a parchment-lined baking sheet, and chill them until you’re ready to bake. You can also freeze shaped scones and bake them from frozen, adding a few extra minutes to the baking time if needed.
Store leftovers properly
Scones are best the day they’re baked, but leftovers can be kept in an airtight container for a few days. You can also freeze baked scones for longer storage. Warm them briefly before serving to bring back that fresh-from-the-oven texture.
Frequently Asked Questions
- What is the secret to making good scones? The biggest secrets are using cold butter, keeping the dough from being overworked, and chilling the shaped scones before baking. These simple steps help create tender, buttery scones with a flaky texture every time!
- Why are my scones tough? Overmixing or overworking the dough is usually the culprit. Once the wet and dry ingredients come together, handle the dough as little as possible. It’s perfectly fine for the dough to look a little shaggy before shaping.
- What is a substitute for cinnamon chips if I can’t find them? If you cannot find cinnamon chips you can leave them out entirely. I know they are easier to find around Christmastime, but I can get them in my grocery store all year round.
- Can I make pumpkin scones ahead of time? Yes! You can prepare and shape the scones ahead of time and keep them refrigerated until you’re ready to bake. This makes them especially convenient for a weekend breakfast or fall brunch.
- Can I freeze pumpkin scones? Absolutely. Freeze the shaped, unbaked scones on a parchment-lined baking sheet until firm, then transfer them to a freezer-safe bag or container. When you’re ready to bake, place them directly on a baking sheet and bake from frozen, adding a few minutes to the baking time as needed. You can also freeze fully baked scones. Allow them to cool completely before wrapping and freezing.
- Can I use fresh pumpkin instead of canned pumpkin? Yes, but make sure your homemade pumpkin puree has a similar consistency to canned pumpkin. If it contains a lot of extra moisture, it can change the texture of the dough.
- How should I store pumpkin scones? Store cooled scones in an airtight container at room temperature for a few days. For the best texture, enjoy them within the first day or two. You can also freeze them for longer storage.
- Can I make these pumpkin scones without nuts? Yes.
- What should I serve with pumpkin scones? A hot cup of coffee or tea is my favorite! These are also wonderful as part of a fall or holiday brunch alongside fresh fruit, eggs, or other breakfast favorites.
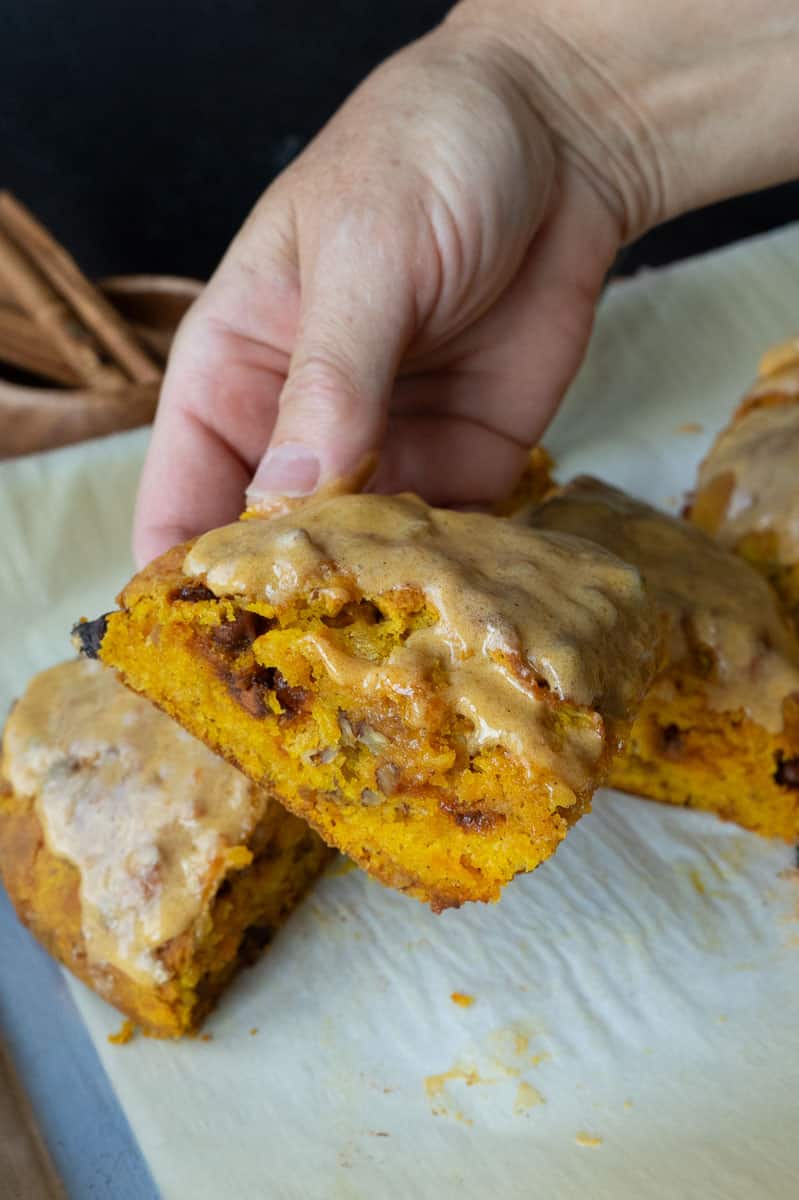
If that’s not the definition of loaded right there I’m not sure what is! Packed with all the spices, nuts, candied ginger, and then the cinnamon chips! Scones glorious scones, they make me so happy!
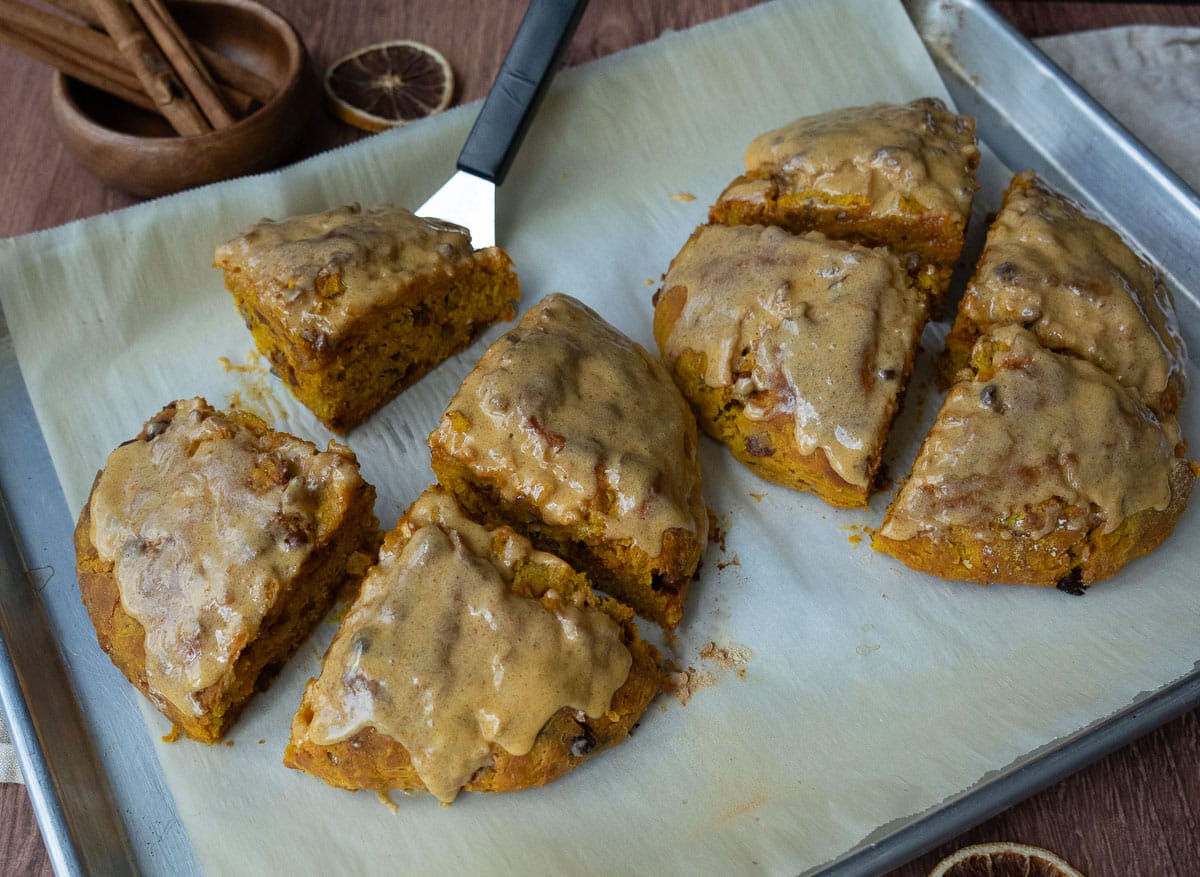
A Little More Pumpkin for Your Table
There’s just something about a warm pumpkin scone and a cup of coffee that makes an ordinary morning feel a little more special. Whether you’re serving these for a fall brunch, taking a plate to a friend, or simply enjoying one in your own kitchen, I hope these Loaded Pumpkin Scones give you a reason to slow down and savor the season.
Make a batch, invite someone over, put the coffee on, and gather around the table. Because food is better when it’s shared.
From my table to yours,
Sheila
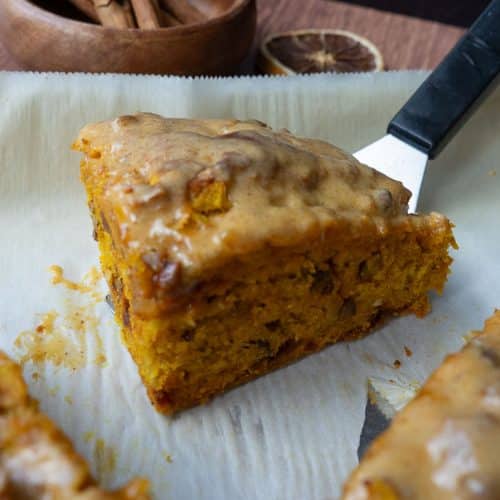
Loaded Pumpkin Scones with spiced pumpkin glaze
Ingredients
- 2-¾ cups All-purpose Flour
- 1/3 cup Sugar
- 1 Tablespoon Baking Powder
- 1 teaspoon Salt
- 1 teaspoon Cinnamon
- ½ teaspoons Nutmeg
- ¼ teaspoons Ground Ginger
- ¼ teaspoons Allspice
- 10 Tablespoons Cold Butter Cut Into Cubes
- 1 cup Canned Pumpkin
- 1 whole Egg
- ¾ cups Buttermilk
- ½ cups Chopped Pecans
- ½ cups Chopped Candied Ginger
- ½ cups Cinnamon Chips
spiced pumpkin glaze
- 1/2 cup powdered sugar
- 1/4 tsp pumpkin spice seasoning
- 1 tbsp pumpkin puree
- 1 tbsp heavy whipping cream or milk
Instructions
- In a large mixing bowl combine flour, sugar, baking powder, salt, cinnamon, nutmeg, ginger, and allspice.
- Add cubes of cold butter in to dry ingredients, cut in with a pastry cutter. Cut until mixture is mostly combined and crumbly. It’s OK to have some visible chunks of butter.
- In a small mixing bowl combine wet ingredients: pumpkin, egg, and buttermilk. Whisk to combine.
- Make a well in the center of the dry ingredients, pour wet mixture into the well. With a large spatula stir together until everything holds together. Be careful not to over mix.
- Now fold in toasted pecans, candied ginger, and cinnamon chips.
- Line two baking sheets with parchment paper, lightly dusted with flour. Split dough in two. Shape and pat each section of dough in to a 6-8 inch circle, each circle should be about 3/4 inch thick.
- Place the pans in freezer for 30 minutes uncovered. Preheat oven to 425 degrees F.
- Remove from freezer using a sharp knife cut each circle into 6 pieces, like a pie. Carefully pull the wedges away from the center to separate them just a little bit.
- Place in oven for 20-25 minutes. They should be golden brown and a toothpick inserted in center of scone should come out clean, no wet crumbs. Edges of scone should look baked through not doughy at all. (internal temperature between 195-205℉)
Pumpkin Spice Glaze
- Combine powdered sugar, pumpkin puree, pumpkin pie spice in a medium sized bowl whisk and add a splash or two of heavy whipping cream until glaze is the right consistency. About 1 tablespoon of cream, but maybe more or less.
- Place scones on a cooling rack over a sheet of parchment paper or on top of baking sheet. Allow scones to cool for at least 30 minutes then drizzle with pumpkin spice glacze.


You're baby sister is so cute! I'm the "big sister" too (tough job but somebody has to do it, right?) These scones look delish! I love scones! Can't wait to give 'em a shot!
Desanderson25 : D Good question. I read on the King Aruthur Flour website that putting scones in freezer before baking gives them a better texture and a higher rise. So i do it every time and it seems to work!
I love traditional English fruit scones with raisins…with butter or clotted cream and strawberry jam…and cream tea. Yum!
Love the cake. I have never made scones!!! Not sure if I have ever eaten on either, but yours are so lovely!
Blessings-
Amanda
Just wondering why you put the scones in the freeser 30 min before baking. Love to read your very funny blogs. Makes a cold Kansas morning much warmer.